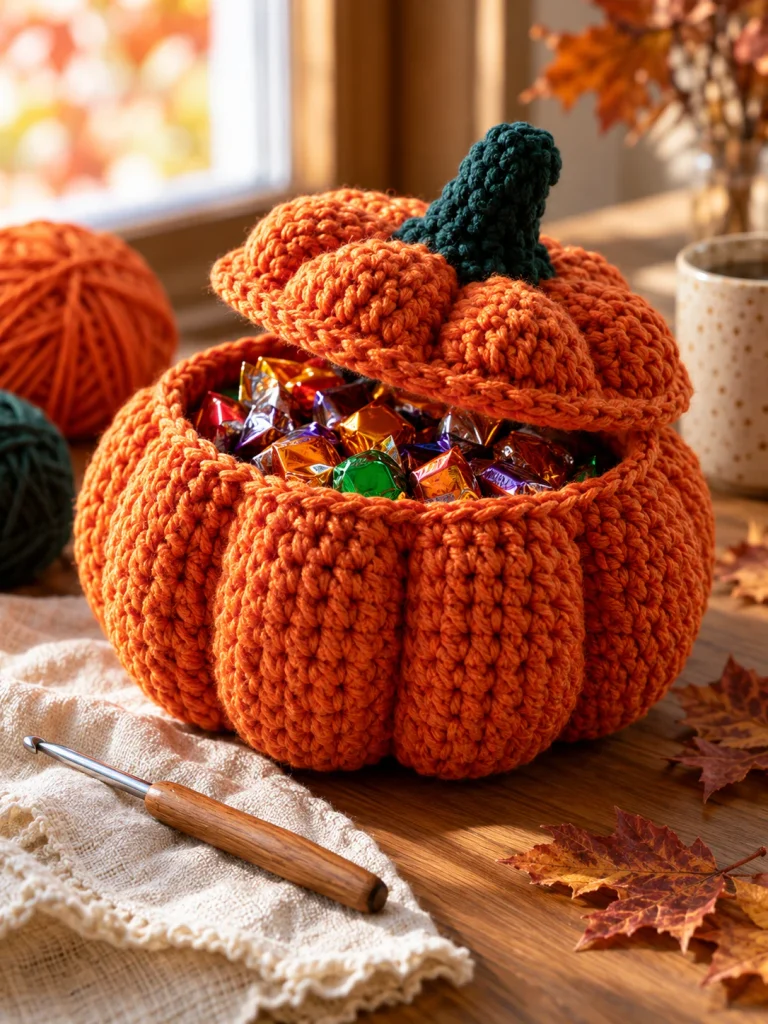
A handmade pumpkin candy bowl is a fun way to combine crochet with practical Halloween decor.
Instead of making another small amigurumi project, this pattern creates a three-dimensional pumpkin-shaped container with a removable crochet lid and stem. Fill it with wrapped Halloween candy, use it as an autumn table decoration, or place it near the front door for trick-or-treat night.
The construction is beginner-friendly: start with a flat crochet circle, build the bowl upward in simple rounds, add subtle pumpkin ridges, then crochet a separate lid and stem.
Pumpkin Candy Bowl at a Glance
| Detail | Information |
|---|---|
| Difficulty | Beginner to confident beginner |
| Terminology | US crochet terms |
| Construction | Worked in continuous rounds |
| Main stitch | Single crochet |
| Suggested yarn | Bulky weight yarn or two strands of medium-weight yarn held together |
| Hook | 6 mm crochet hook |
| Finished width | Approximately 7–8 inches |
| Finished height | Approximately 4–5 inches |
The finished size can easily be adjusted by adding or removing increase rounds.
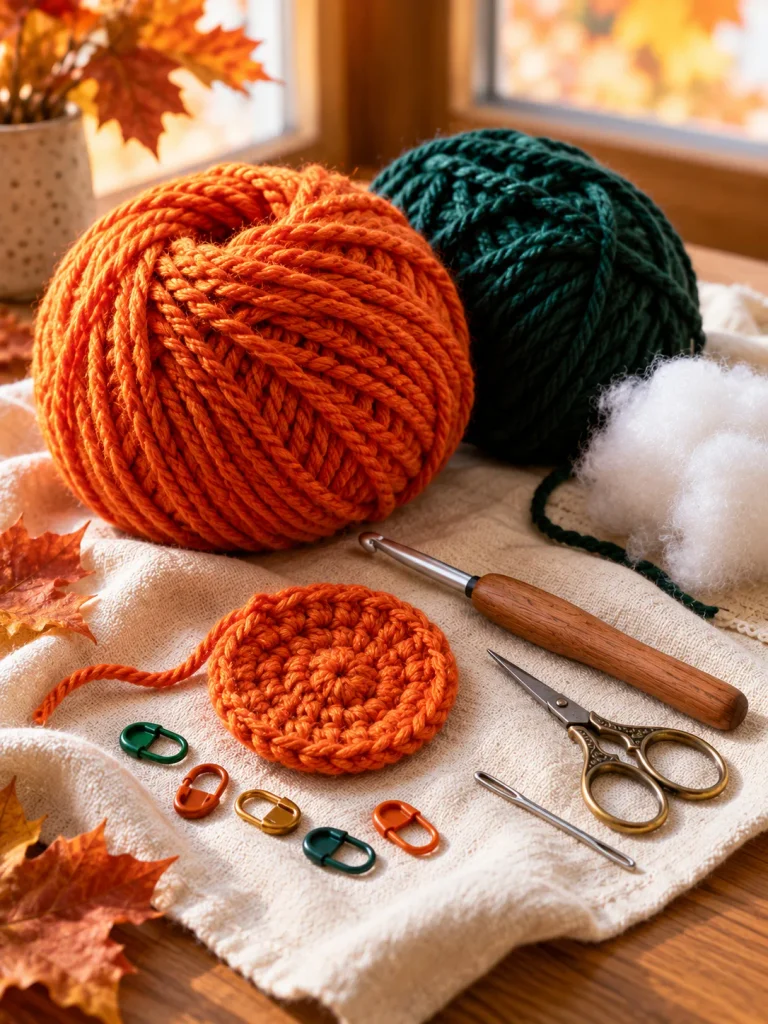
Materials
| Material | Amount / Details |
|---|---|
| Orange bulky yarn | Approximately 250–300 yards |
| Dark green yarn | Approximately 20–30 yards |
| Crochet hook | 6 mm |
| Yarn needle | 1 |
| Scissors | 1 pair |
| Stitch markers | Several |
| Stuffing | Small amount, optional for stem |
For a firmer bowl, choose cotton, cotton-blend yarn, or another yarn with enough structure to hold its shape.
You can also hold two strands of medium-weight yarn together.
Abbreviations
| Abbreviation | Meaning |
|---|---|
| MR | Magic ring |
| ch | Chain |
| sc | Single crochet |
| inc | Increase — work 2 single crochet stitches into one stitch |
| sl st | Slip stitch |
| BLO | Back loop only |
| st | Stitch |
| sts | Stitches |
Before You Begin
The bowl begins as a flat circle.
Once the base reaches the correct width, one round is worked through the back loops only. This creates a natural turning point between the flat bottom and the walls.
The walls are then crocheted straight upward.
The pumpkin effect is added afterward using six evenly spaced vertical ridges.
Step 1: Crochet the Pumpkin Bowl Base
Using orange yarn, make a magic ring.
Place a stitch marker in the first stitch so you can easily identify the beginning of each round.
| Round | Instructions | Stitch Count |
|---|---|---|
| 1 | 6 sc into MR | 6 |
| 2 | Inc in every stitch around | 12 |
| 3 | (1 sc, inc) around | 18 |
| 4 | (2 sc, inc) around | 24 |
| 5 | (3 sc, inc) around | 30 |
| 6 | (4 sc, inc) around | 36 |
| 7 | (5 sc, inc) around | 42 |
| 8 | (6 sc, inc) around | 48 |
| 9 | (7 sc, inc) around | 54 |
| 10 | (8 sc, inc) around | 60 |
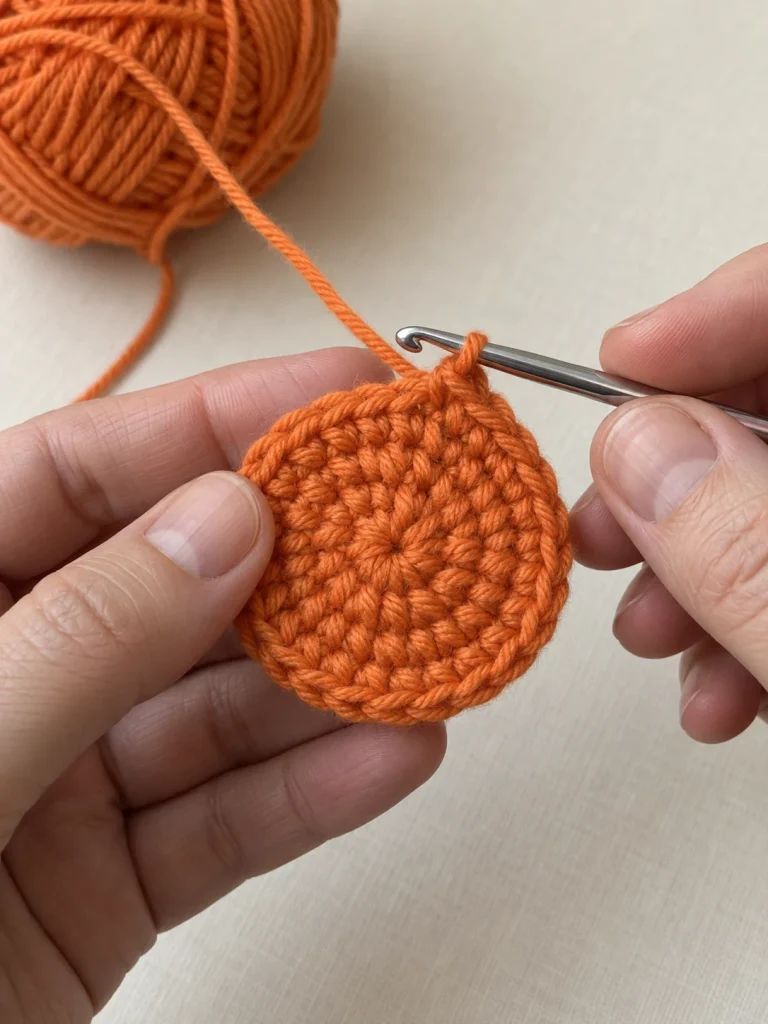
Your piece should now look like a flat crochet circle.
Do not worry if the circle curls very slightly. It should still lie mostly flat.
Step 2: Turn the Base Into a Bowl
For the next round, work through the back loop only of each stitch.
| Round | Instructions | Stitch Count |
|---|---|---|
| 11 | BLO sc in every stitch around | 60 |
This creates a small ridge where the bottom ends and the walls begin.
From this point forward, return to working through both loops normally.
Step 3: Build the Pumpkin Bowl Walls
| Rounds | Instructions | Stitch Count |
|---|---|---|
| 12–22 | Sc in every stitch around | 60 each round |
Continue until the bowl measures approximately 4 to 5 inches high.
If you want a taller candy bowl, add additional rounds.
If you prefer a shallower bowl, stop earlier.
Keep your stitch marker in place so you always know where each round begins.
Step 4: Finish the Top Edge
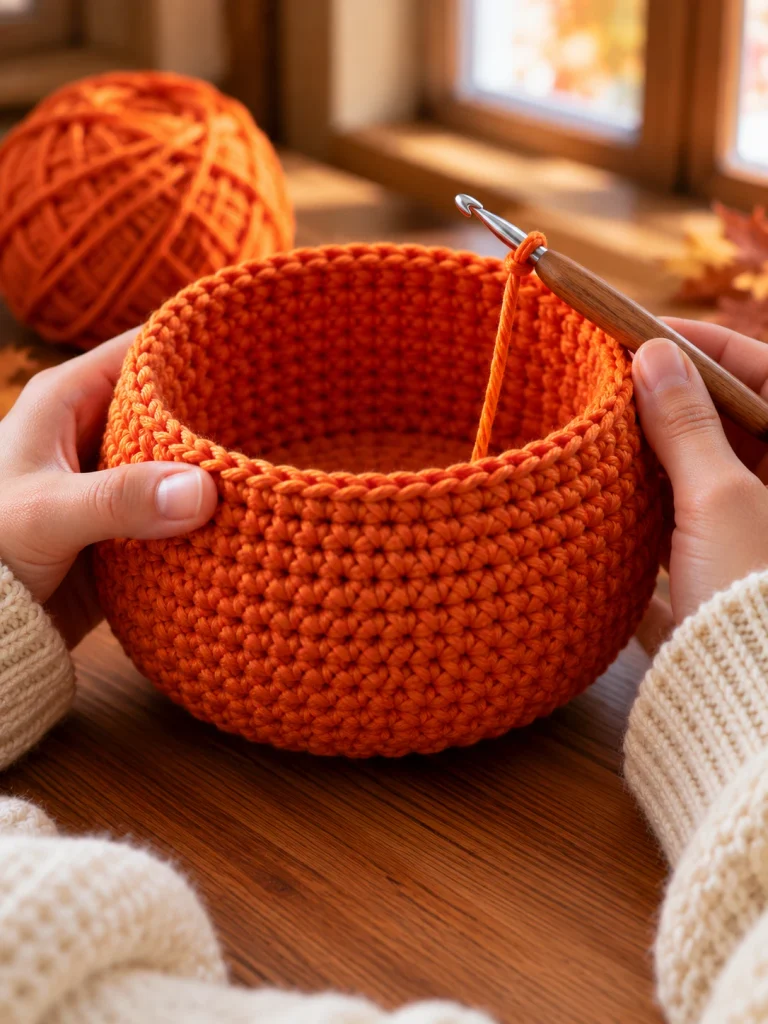
When the bowl reaches the height you want, work one final round of single crochet.
Slip stitch into the next stitch.
Fasten off.
Weave in the yarn end securely.
The bowl should already be able to stand on its own.
If it feels too soft, gently shape it with your hands.
Cotton or double-stranded yarn will usually create more structure than very soft acrylic yarn.
Step 5: Mark the Pumpkin Sections
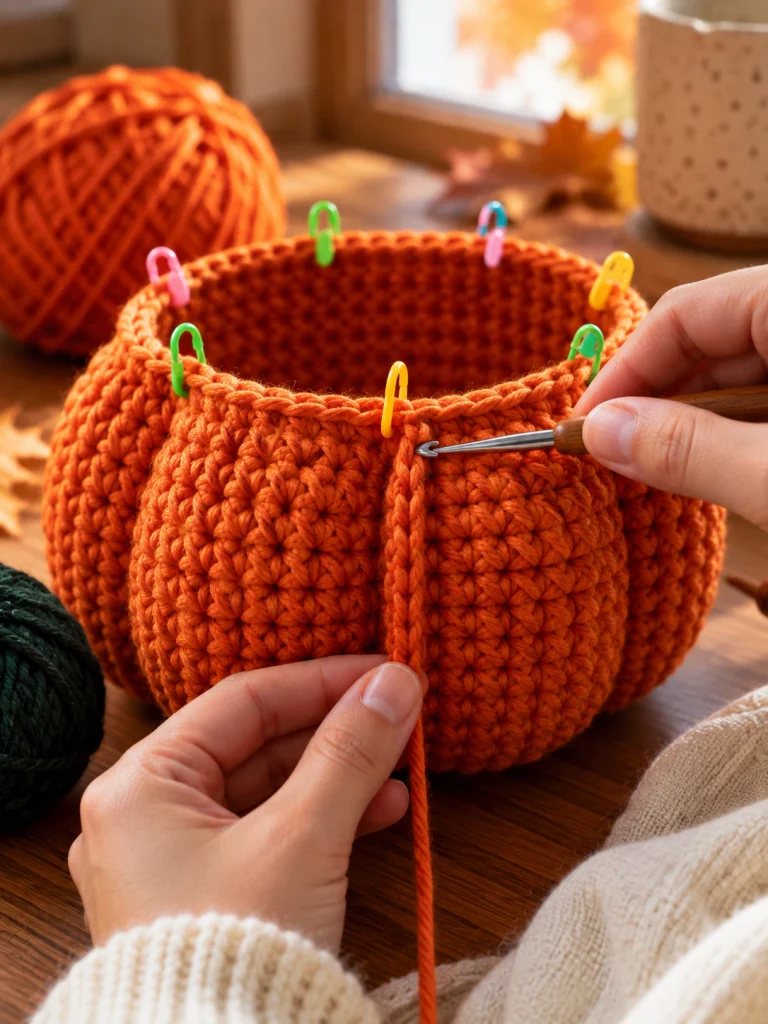
To create the pumpkin appearance, divide the bowl into six sections.
Because the bowl has 60 stitches, place a stitch marker approximately every 10 stitches around the rim.
You should have six evenly spaced markers.
| Total Stitches | Sections | Approx. Stitches Per Section |
|---|---|---|
| 60 | 6 | 10 |
These positions will guide the decorative vertical ridges.
Step 6: Add the Pumpkin Ridges
Using a separate strand of orange yarn, begin near the turning ridge at the bottom of the bowl.
Surface slip stitch upward along one marked line until you reach the top edge.
Keep the stitches firm but not extremely tight.
Repeat at each of the six marked positions.
These vertical lines create the segmented look of a pumpkin.
Gently press between the sections with your fingers to emphasize the shape.
Do not pull the ridges so tightly that the bowl collapses inward.
Step 7: Crochet the Pumpkin Lid
Using orange yarn, make another magic ring.
The lid follows the same increase sequence as the bowl base.
| Round | Instructions | Stitch Count |
|---|---|---|
| 1 | 6 sc into MR | 6 |
| 2 | Inc around | 12 |
| 3 | (1 sc, inc) around | 18 |
| 4 | (2 sc, inc) around | 24 |
| 5 | (3 sc, inc) around | 30 |
| 6 | (4 sc, inc) around | 36 |
| 7 | (5 sc, inc) around | 42 |
| 8 | (6 sc, inc) around | 48 |
| 9 | (7 sc, inc) around | 54 |
| 10 | (8 sc, inc) around | 60 |
Place the lid over the bowl opening.
If it fits comfortably, continue.
If your tension makes the lid slightly too small, add one additional increase round.
Step 8: Give the Lid Some Shape
Work one round of single crochet without increasing.
| Round | Instructions | Stitch Count |
|---|---|---|
| 11 | Sc in every stitch around | 60 |
This creates a slight downward edge that helps the lid sit naturally on top of the bowl.
Slip stitch into the next stitch.
Fasten off and weave in the end.
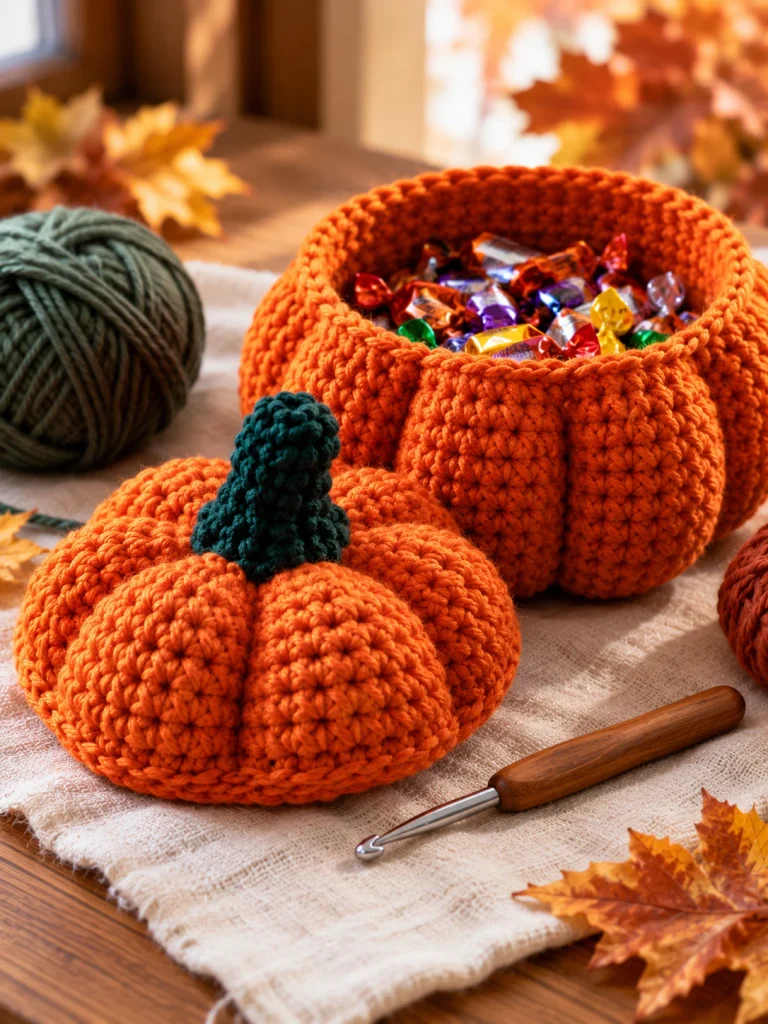
You can add six subtle surface crochet ridges to the lid as well, matching the six sections of the bowl.
Step 9: Crochet the Green Stem
Using dark green yarn, make a magic ring.
| Round | Instructions | Stitch Count |
|---|---|---|
| 1 | 6 sc into MR | 6 |
| 2–7 | Sc around | 6 each round |
Add a very small amount of stuffing if you want the stem to feel firmer.
Fasten off, leaving a long yarn tail.
You can keep the stem straight or gently curve it while sewing it onto the lid.
Step 10: Attach the Stem
Position the stem directly in the center of the pumpkin lid.
Use the long green yarn tail to sew it securely in place.
Go around the base several times so the stem does not wobble.
Weave the remaining yarn end into the underside of the lid.
Step 11: Check the Fit
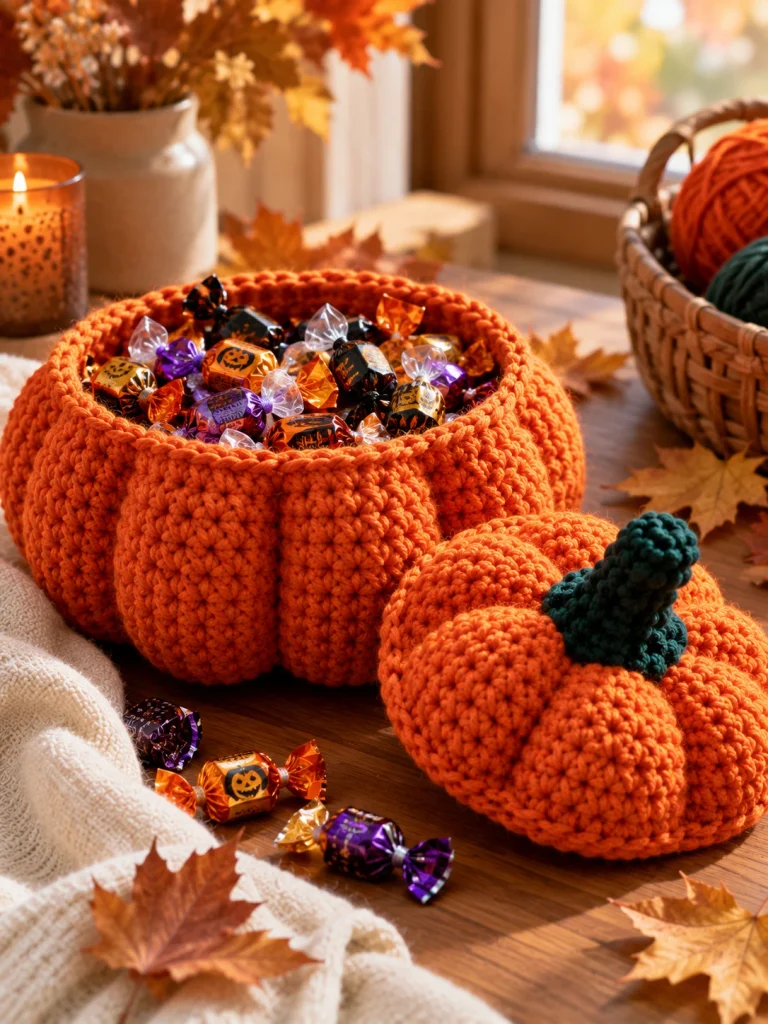
Place the lid on top of the bowl.
It should sit comfortably over the opening without falling inside.
If the lid feels slightly loose, that is usually fine.
A pumpkin lid does not need to fit tightly like a jar lid.
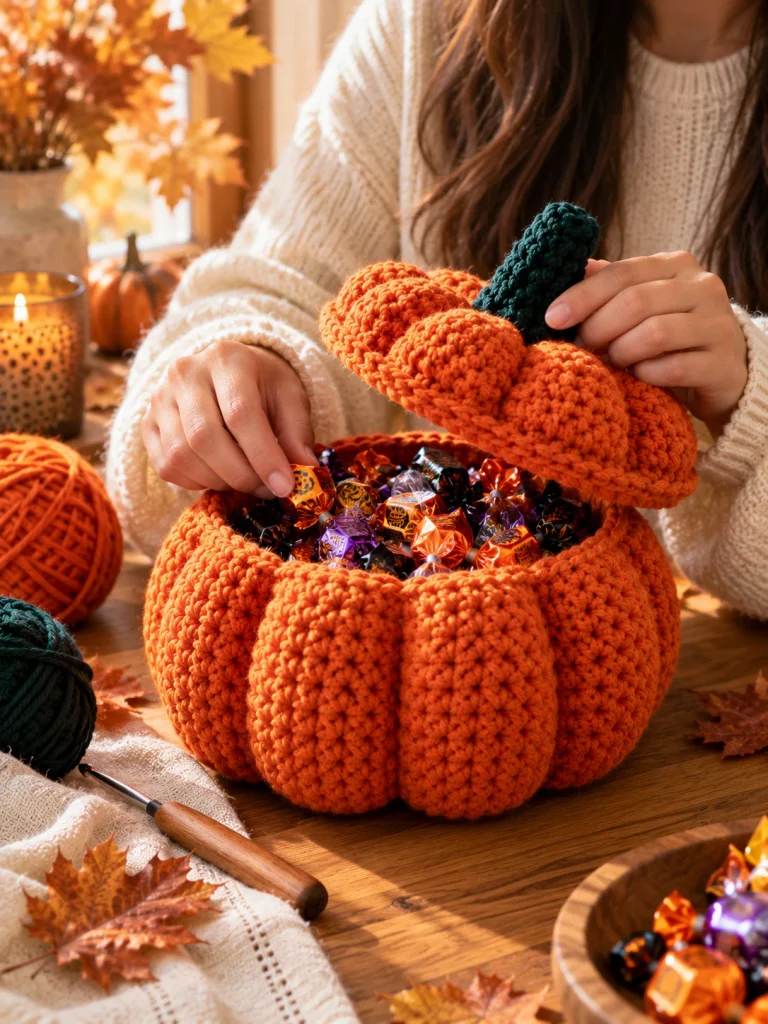
The stem acts as a convenient handle when opening the bowl.
Fill Your Pumpkin With Halloween Candy
Once everything is finished, add individually wrapped Halloween candy.
The orange pumpkin with a dark green stem creates a seasonal centerpiece even when it is not filled.
Place it on:
- An entryway table
- Coffee table
- Kitchen counter
- Halloween party table
- Office desk
- Craft-room shelf
For food use, stick with individually wrapped candy or use a removable food-safe liner rather than placing unwrapped food directly against the yarn.
Make a Smaller Pumpkin Bowl
You can easily change the size.
For a smaller container, stop increasing earlier.
| Size | Stop Increasing At |
|---|---|
| Smaller | 48 stitches |
| Medium-small | 54 stitches |
| Original | 60 stitches |
Then begin the BLO turning round and build the walls.
Remember to divide the finished stitch count evenly when positioning the pumpkin ridges.
Make a Larger Candy Bowl
For a bigger bowl, continue the increase pattern.
After 60 stitches, work:
9 sc, inc around.
You will have 66 stitches.
Continue increasing in the same pattern until the base reaches the width you want.
Keep in mind that larger bowls need firmer yarn to prevent the sides from collapsing.
Try Different Pumpkin Colors
Orange is classic, but this pattern also works beautifully in:
- Cream
- Oatmeal
- Sage green
- Mustard
- Rust
- Terracotta
- Dark olive
You could make several sizes and colors to create a complete autumn display.
Add a Curly Vine
For an extra detail, crochet a small vine.
Chain approximately 15–20.
Work several stitches into each chain so the piece naturally curls.
Attach it beside the stem.
A small sage or dark green vine adds personality without making the project much more complicated.
Troubleshooting
| Problem | Possible Cause | What to Try |
|---|---|---|
| Bowl feels floppy | Yarn is too thin | Hold two strands together |
| Bowl feels floppy | Hook is too large | Use a slightly smaller hook |
| Bowl feels floppy | Tension is loose | Crochet with firmer tension |
| Bowl feels floppy | Bowl is too tall | Make the bowl slightly shorter |
| Base curls too early | Too few increases or tight tension | Check your stitch count |
| Base becomes wavy | Too many stitches or loose tension | Recheck increase rounds |
| Pumpkin sections look uneven | Ridge spacing is inconsistent | Mark sections before adding ridges |
Why Is My Base Curling?
If the circle forms a bowl before you reach the BLO round, you may not be increasing enough or your tension may be very tight.
Check that your stitch count matches each round.
Your base should progress through:
6 → 12 → 18 → 24 → 30 → 36 → 42 → 48 → 54 → 60 stitches
before you begin building the walls.
Why Is My Base Wavy?
Too many stitches or very loose tension can create ripples.
Check your stitch count carefully.
Small ripples can sometimes flatten once you begin crocheting the walls.
Large waves usually mean an increase mistake occurred.
Why Are My Pumpkin Sections Uneven?
Before creating the ridges, divide the rim evenly.
With 60 stitches and six sections, each section should contain approximately 10 stitches.
Use markers before you begin.
This is much easier than trying to judge the spacing by eye.
Can Beginners Make This?
Yes.
You should be comfortable with:
- Magic ring
- Single crochet
- Increasing
- Working in continuous rounds
- Back loop only crochet
- Slip stitch
- Basic sewing
If you already know how to make simple amigurumi, this project uses many of the same skills on a larger scale.
Care Instructions
Follow the care instructions on your yarn label.
Because the bowl is shaped, hand washing and air drying can help preserve its structure.
Reshape the bowl while damp if necessary.
Remove candy and decorations before washing.
Keep the yarn bowl away from:
- Open flames
- Candles
- Hot surfaces
- Ovens
- Stovetops
- Other direct heat sources
More Than a Candy Bowl
After Halloween, you can reuse the pumpkin as autumn storage.
Try filling it with:
- Wrapped treats
- Crochet supplies
- Stitch markers
- Yarn scraps
- Small fall decorations
- Individually wrapped gifts
A cream, sage, or terracotta version can stay on display throughout the entire autumn season.
A Halloween Project You Can Actually Use
Small Halloween amigurumi are fun, but sometimes it is satisfying to make something decorative and useful.
This pumpkin bowl combines simple crochet rounds with a clever seasonal shape.
Start with a flat circle.
Build the walls.
Add the ridges.
Crochet the lid and stem.
Then fill your finished pumpkin with Halloween treats.
It is a project you can bring out again every autumn — and it makes a particularly fun handmade centerpiece when trick-or-treat season arrives.