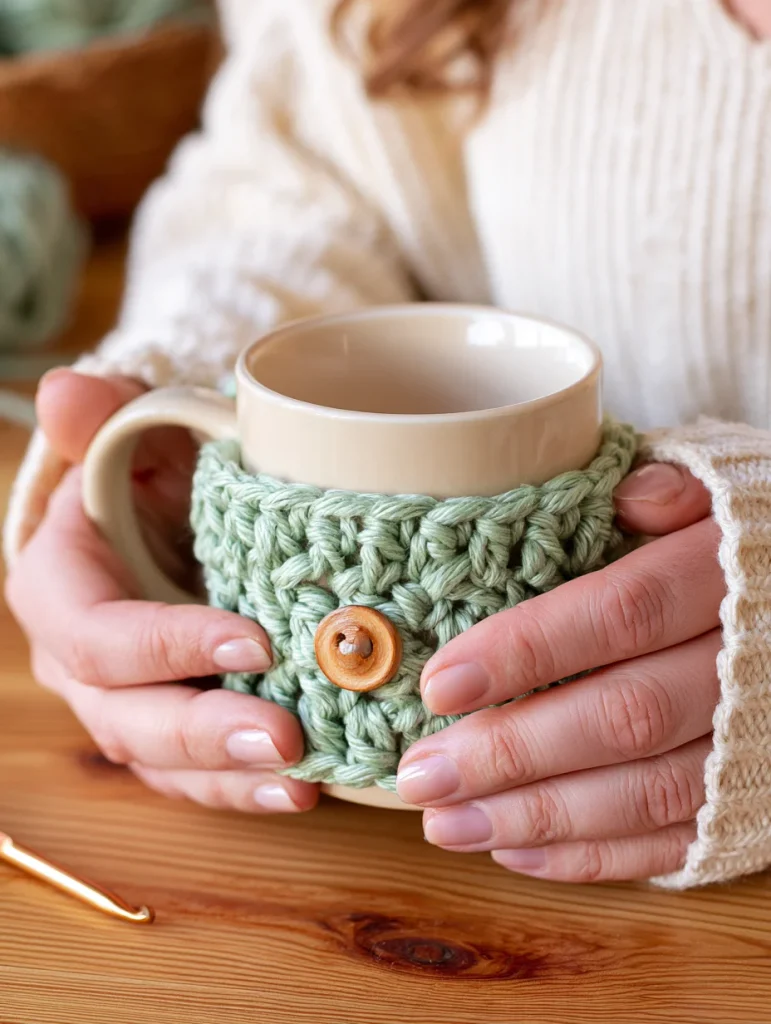
A crochet mug cozy is a perfect first project when you are ready to turn your basic stitches into something useful.
It is small, uses very little yarn, and can be finished much faster than a scarf, blanket, or wearable project.
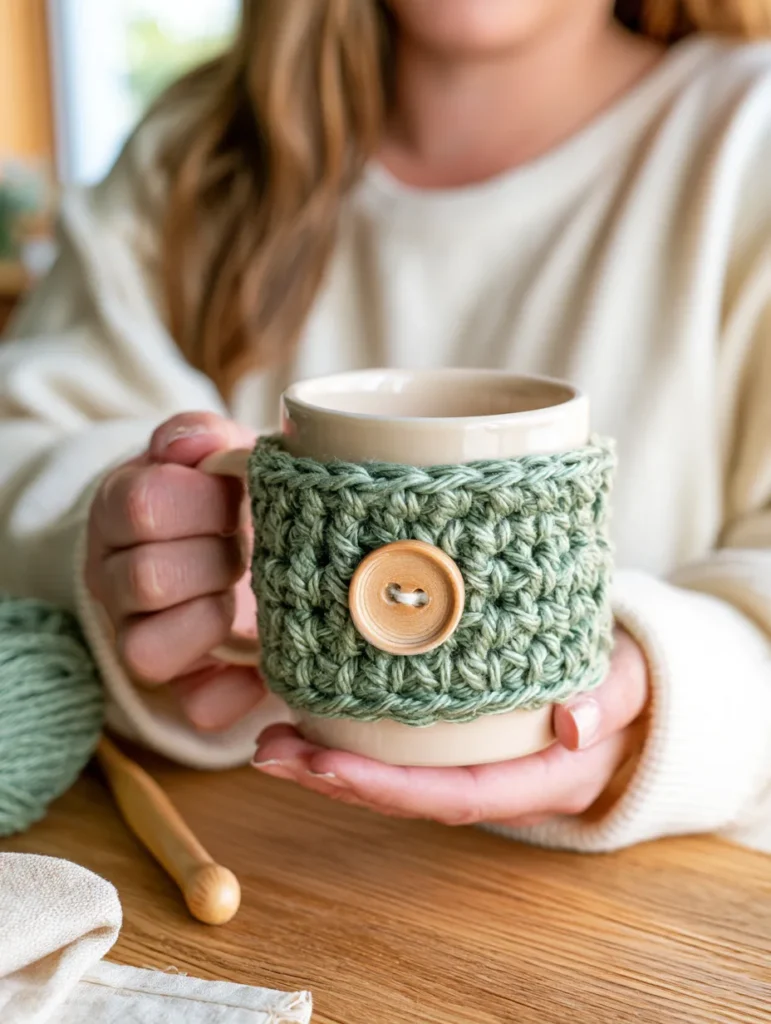
This beginner-friendly mug cozy is made as one simple rectangle using half double crochet. A button and chain loop allow the cozy to wrap around the mug while leaving the handle free.
Once you understand the construction, you can easily adjust the pattern for different mugs, experiment with colors, or make several as simple handmade gifts.

Mug Cozy at a Glance
Difficulty: Beginner
Main stitch: Half double crochet
Construction: Flat rectangle with button-and-loop closure
Terminology: US crochet terms
Suggested yarn: Medium-weight cotton or cotton blend
Suggested hook: 5 mm crochet hook
Finished height: Approximately 3–4 inches, depending on your yarn and tension
Finished length: Customized to fit your mug
Because mugs come in many shapes and sizes, checking the fit as you crochet is more useful than relying on one exact measurement.
Materials
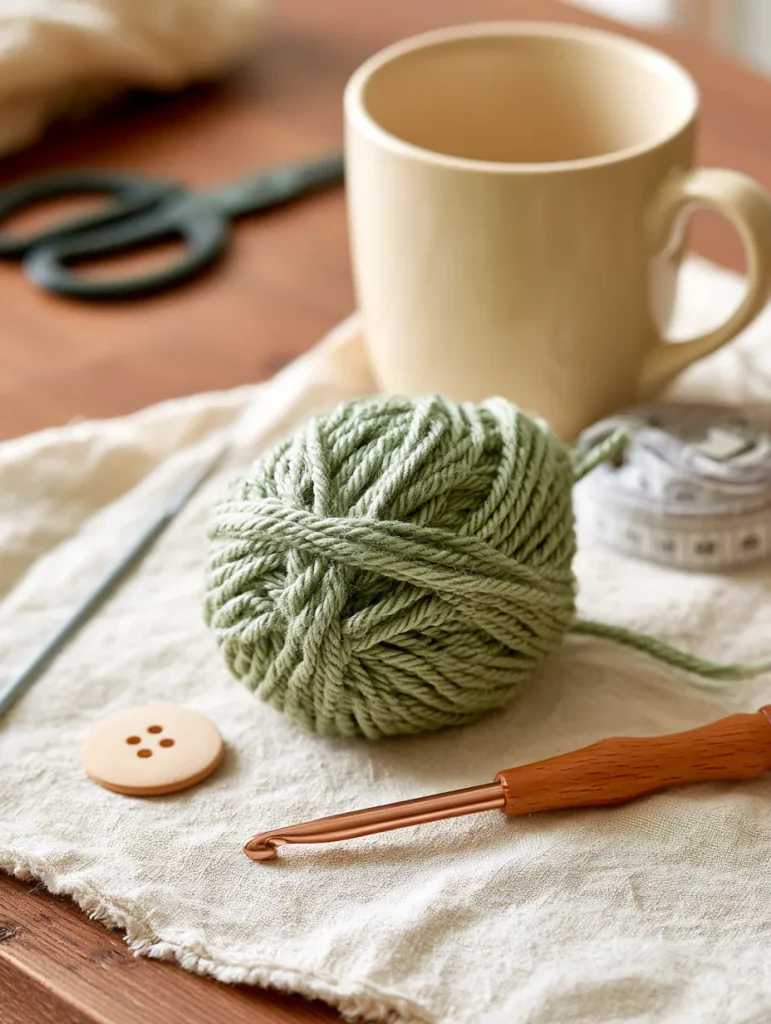
You will need:
- A small amount of medium-weight cotton or cotton-blend yarn
- 5 mm crochet hook
- One button
- Yarn needle
- Scissors
- Measuring tape
- Stitch marker, optional
Cotton yarn works especially well for mug cozies because it creates clearly defined stitches and a relatively sturdy fabric.
For a Yumnivo-inspired color palette, try:
- Sage green
- Warm cream
- Oatmeal
- Dusty terracotta
- Soft mustard
- Muted rose
Abbreviations
This pattern uses US crochet terminology.
- ch = chain
- hdc = half double crochet
- sl st = slip stitch
- st = stitch
- sts = stitches
Before You Begin
The mug cozy is crocheted sideways as a long rectangle.
The short side determines the height of the cozy.
The long side wraps around the mug.
You will continue adding rows until the rectangle fits comfortably around your mug, leaving the handle accessible.
A small chain loop is then added to one end and a button is sewn onto the opposite end.
Step 1: Make the Foundation Chain
Chain 10.
Try not to make the foundation chain too tight.
The loops should move comfortably along the crochet hook.
If your chains are extremely tight, the first row may become difficult to work into.
Step 2: Crochet the First Row
Half double crochet into the second chain from the hook.
Half double crochet into each remaining chain across.
You should have 9 half double crochet stitches.
Chain 1 and turn.
The turning chain does not count as a stitch in this pattern.
Step 3: Crochet the Second Row
Half double crochet into the first stitch.
Continue with one half double crochet in each stitch across.
You should still have 9 stitches.
Chain 1 and turn.
Step 4: Continue the Rectangle
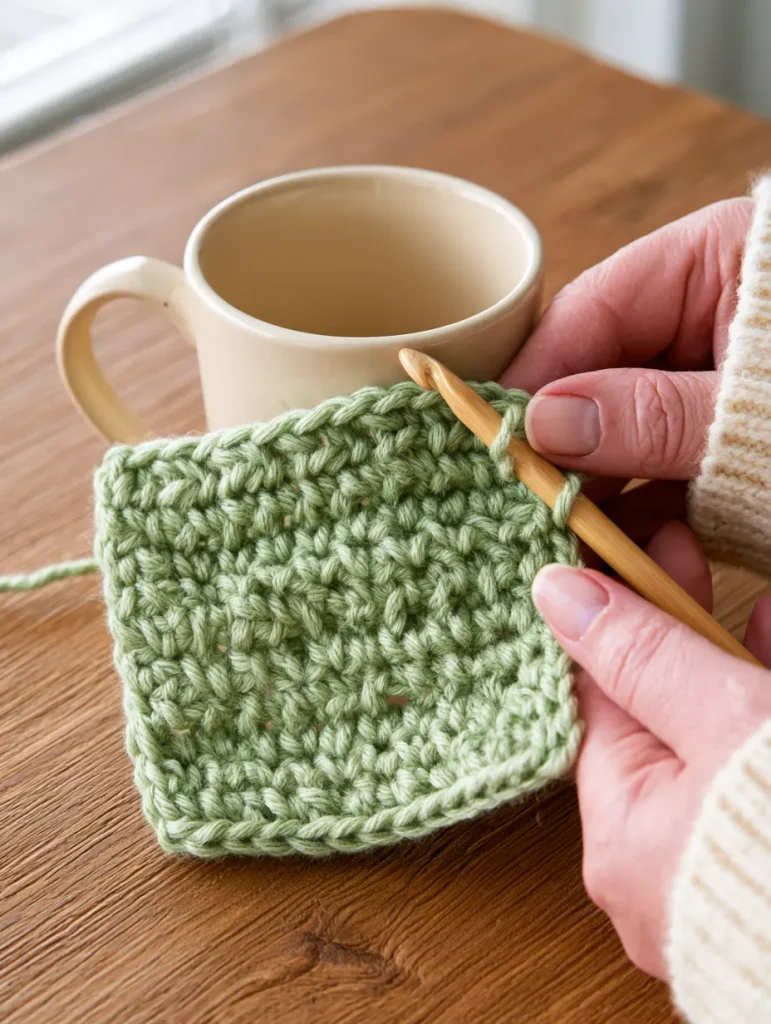
Repeat the second row until the crochet rectangle is long enough to wrap around your mug.
Count your stitches occasionally to make sure you still have 9 stitches in every row.
For many mugs, the rectangle may need to be somewhere around 8 to 10 inches long.
However, do not rely only on that measurement.
Your mug may be smaller or larger.
Wrap the rectangle around the mug every few rows to check the fit.
How Should the Cozy Fit?
The rectangle should wrap comfortably around the middle of the mug.
The two ends should come close together near the handle.
The cozy should feel secure without needing to stretch excessively.
Make sure it does not:
- Cover the drinking rim
- Block the mug handle
- Slide easily up or down
- Feel excessively tight
Once you are happy with the length, you are ready to make the button loop.
Step 5: Make the Button Loop
After finishing the final row, do not fasten off.
At the corner of the rectangle, begin chaining.
Start with approximately 6 to 10 chains.
The exact number depends on the size of your button.
Bring the chain around the button to test the fit.
The loop should slide over the button comfortably but should not be so large that it opens by itself.
Once the loop is the right size, slip stitch back into the corner of the cozy to secure it.
Fasten off.
Weave in the yarn end securely.
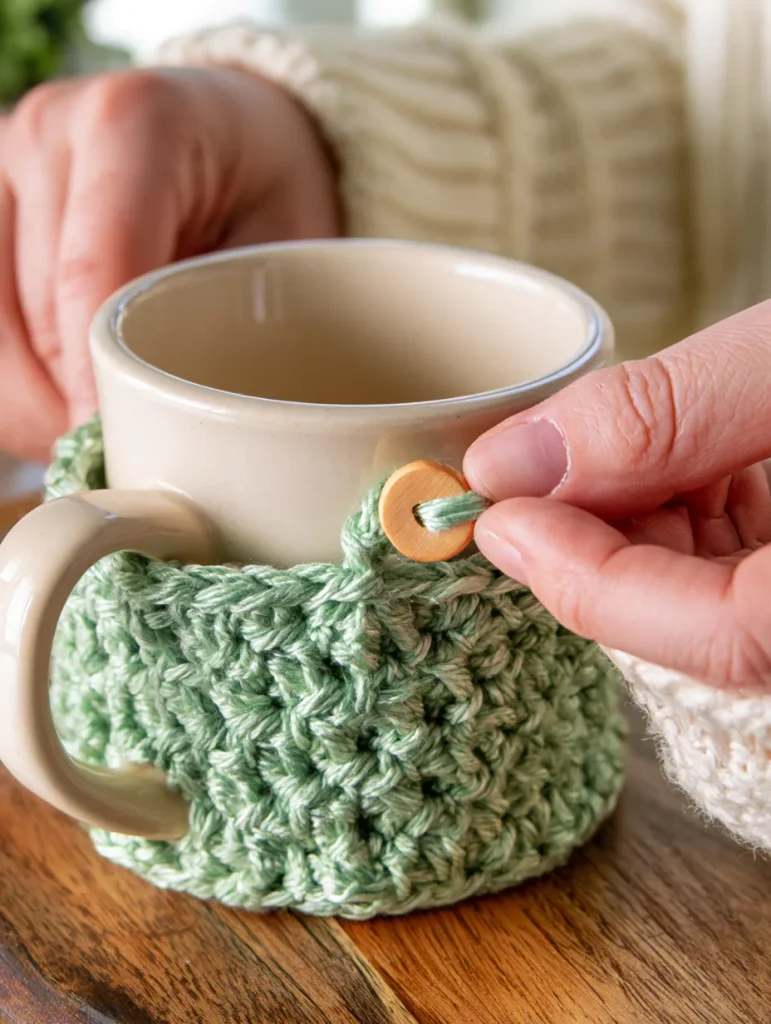
Step 6: Attach the Button
Wrap the cozy around the mug.
Bring the chain loop across to the opposite end.
Use the loop position to determine where the button should be attached.
Mark the location if necessary.
Remove the cozy from the mug.
Use yarn or suitable sewing thread to sew the button securely in place.
Go through the button several times so it stays firmly attached.
Weave in or secure the thread ends.
Step 7: Check the Final Fit
Place the cozy around your mug and fasten the button.
Check that it sits comfortably around the mug.
If the cozy is slightly loose, move the button farther inward.
If it feels too tight, move the button closer to the edge or make a slightly longer loop.
Small adjustments to the button placement can make a noticeable difference.
Optional Single Crochet Border
You can leave the cozy exactly as it is.
If you prefer a more defined edge, add a simple single crochet border.
Before making the button loop, work one round of single crochet evenly around the rectangle.
Try to keep the stitches evenly spaced along the row ends.
At each corner, add an extra stitch if necessary to prevent the fabric from curling.
Then create the button loop as described above.
Make a Striped Mug Cozy
This small project is a great place to practice changing colors.
Try combinations such as:
- Cream and sage
- Oatmeal and terracotta
- Cream and muted mustard
- Sage and dusty rose
- Beige and soft blue
Change colors every two or three rows for simple stripes.
Because the project requires very little yarn, it is also useful for using leftover yarn from previous projects.
Add a Small Crochet Flower
Once you are comfortable with the basic pattern, you can decorate the cozy with a small crochet flower.
Attach it near the button or toward one side of the cozy.
Keep the decoration relatively flat so the mug remains comfortable to hold.
A cream flower on sage yarn or a muted mustard flower on an oatmeal cozy can add a subtle handmade detail.
Add a Contrasting Button
The button can become part of the design.
Try:
- Natural wooden button
- Dark brown button
- Cream button
- Muted terracotta button
Choose a button large enough that the crochet loop will not slip off easily.
Avoid anything with sharp edges that could snag the yarn.
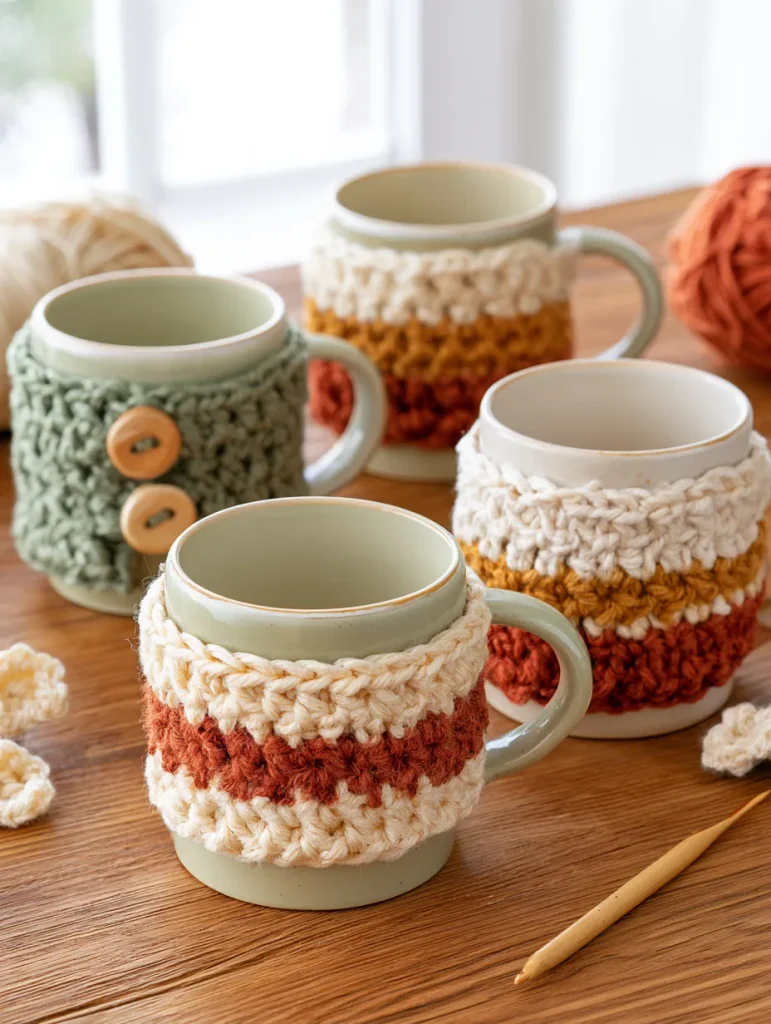
Make a Matching Set
Once you know the pattern, making another cozy is easy.
Create several in coordinating colors and pair them with simple ceramic mugs.
A handmade mug cozy can make a thoughtful small gift for:
- Birthdays
- Christmas
- Teachers
- Coworkers
- Housewarmings
- Coffee lovers
- Tea lovers
You can also pair the cozy with handmade crochet coasters.
Using matching yarn creates a simple coordinated gift set.
What Yarn Is Best for a Crochet Mug Cozy?
Cotton or a cotton blend is a practical choice for this project.
Cotton provides:
- Clear stitch definition
- Relatively low stretch
- Good structure
- Easy care in many yarns
Always follow the washing and care instructions on the specific yarn label.
A smooth medium-weight yarn is especially comfortable for beginners because the stitches are easy to see.
Can I Use Acrylic Yarn?
You may encounter mug cozy patterns made with acrylic, but cotton is a straightforward choice for a beginner project that will be used around a warm mug.
Whatever fiber you use, keep the cozy away from direct flames, burners, heating elements, and other direct heat sources.
The cozy is intended to wrap around an ordinary drinking mug.
Can I Make the Cozy Taller?
Yes.
The foundation chain controls the height.
This pattern begins with chain 10.
If you want a taller cozy, start with a few additional chains.
For example, you could try chain 12 or 13 and adjust your stitch count accordingly.
Make sure the finished cozy remains safely below the drinking rim.
Can I Make It for a Larger Mug?
Yes.
The number of rows controls how far the cozy wraps around the mug.
Simply continue crocheting until the rectangle fits the mug you want to use.
This makes the pattern easy to customize for different mug sizes.
Can I Make the Mug Cozy Without a Button?
Yes.
If the mug has straight sides and the handle does not interfere, you can join the short ends of the rectangle to make a permanent sleeve.
However, a button closure is more flexible.
It makes the cozy easier to remove and allows it to work with mugs that have larger handles.
Why Is My Rectangle Getting Wider?
You may accidentally be adding stitches at the beginning or end of your rows.
This is one of the most common beginner mistakes.
Count your stitches after every few rows.
You should always have 9 stitches if you follow the pattern as written.
A stitch marker in the first or last stitch can help you recognize the edges.
Why Is My Rectangle Getting Narrower?
You may be skipping the first or last stitch of a row.
Again, count your stitches.
If you begin with 9 stitches, every row should contain 9 stitches.
Learning to identify the first and last stitch is an important crochet skill that will help with many future projects.
Why Are the Edges Uneven?
Uneven edges are normal when you are still learning.
They usually happen because:
- Your tension changes
- You accidentally add stitches
- You accidentally skip stitches
- Your turning chains vary in size
Count your stitches regularly and try to maintain comfortable, consistent tension.
Your edges will become straighter with practice.
How Long Does a Crochet Mug Cozy Take?
It depends on your crochet experience.
Because the project is small and uses a simple repeated stitch, it can be completed much faster than most larger projects.
A beginner may take longer because they need to count stitches, check their tension, and occasionally redo rows.
That is perfectly fine.
The purpose of a first project is not speed.
It is learning how to turn basic stitches into something complete and useful.
Care and Safety
Remove the crochet cozy before placing the mug in a microwave, oven, dishwasher, or other appliance unless you know that every material used is suitable for that appliance.
Buttons, yarn fibers, decorations, and other materials may not be microwave-safe.
Keep the cozy away from direct flame and heating elements.
Use the mug according to the manufacturer’s instructions.
If the beverage or mug is extremely hot, handle it carefully even when using a cozy.
Wash the crochet piece according to the care instructions on your yarn label.
Skills You Practiced
By finishing this mug cozy, you practiced:
- Foundation chains
- Half double crochet
- Turning rows
- Counting stitches
- Maintaining straight edges
- Measuring a crochet project
- Making a chain loop
- Sewing on a button
- Weaving in yarn ends
Those same skills appear in many larger crochet patterns.
Your First Useful Crochet Project
There is something satisfying about finishing a project you can immediately use.
This mug cozy begins with one foundation chain and a few rows of half double crochet.
By the end, those simple stitches have become a complete handmade object.
Once you make your first one, try another color.
Change the button.
Add stripes.
Make a matching coaster.
Small projects like this give you a chance to practice without feeling overwhelmed.
And every finished project makes the next one a little easier.