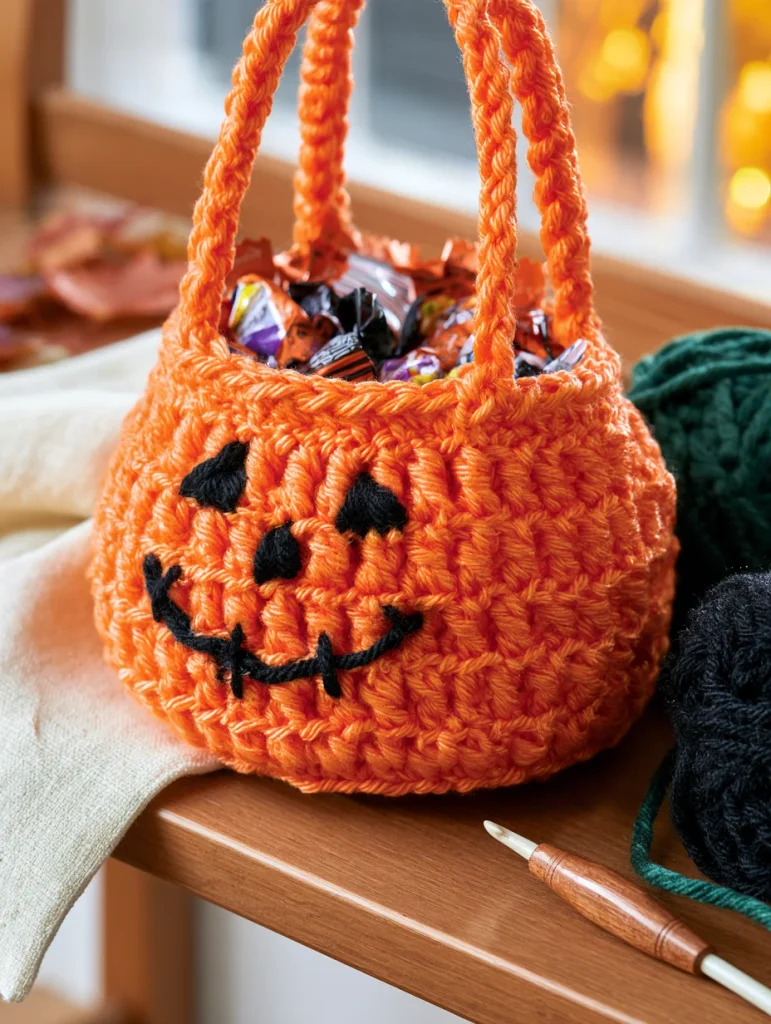
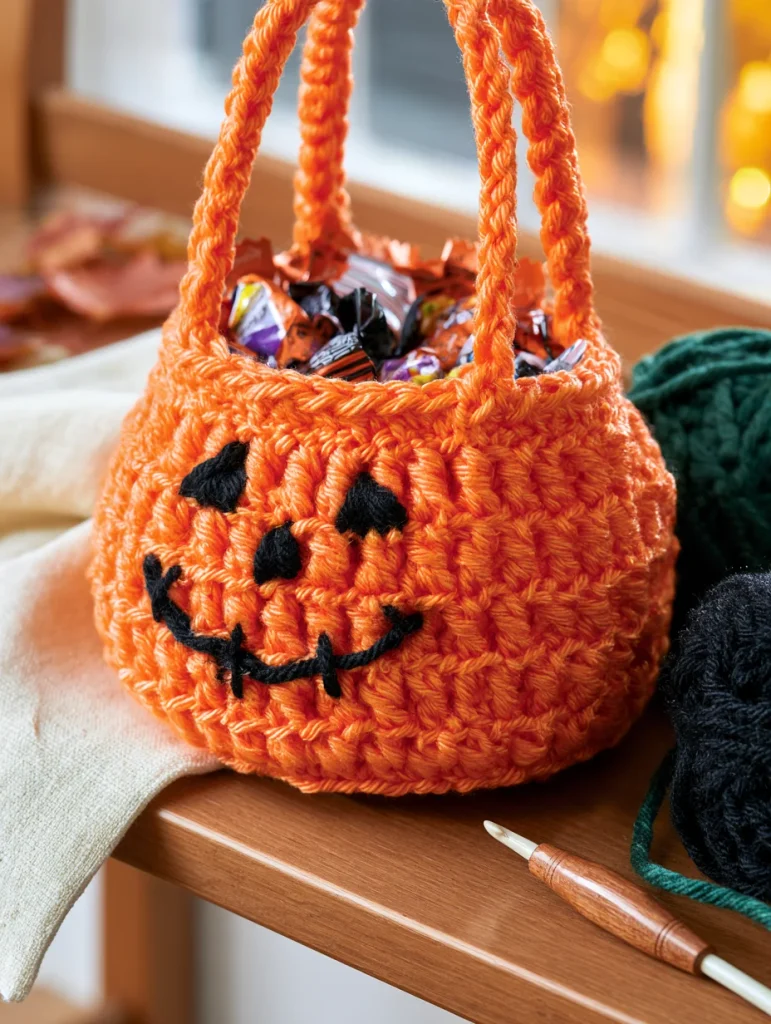
A handmade crochet trick-or-treat bag is a fun Halloween project that is both decorative and useful.
This beginner-friendly pattern creates a sturdy orange pumpkin-style candy bag with built-in crochet handles and an optional black jack-o’-lantern face.
The construction is simple: crochet a flat circular base, build the sides upward in continuous rounds, create two handles directly into the top of the bag, then add the Halloween face.
The finished bag is roomy enough for wrapped Halloween treats while still being manageable for a beginner crochet project.
Trick-or-Treat Bag at a Glance
| Detail | Information |
|---|---|
| Difficulty | Beginner to confident beginner |
| Terminology | US crochet terms |
| Construction | Round base + continuous body |
| Main stitch | Single crochet |
| Suggested yarn | Medium-weight cotton or cotton blend held double |
| Hook | 5.5–6 mm |
| Finished width | Approximately 9–10 inches |
| Finished height | Approximately 8–9 inches, excluding handles |
| Handles | Crocheted directly into top rounds |
Materials
| Material | Amount / Details |
|---|---|
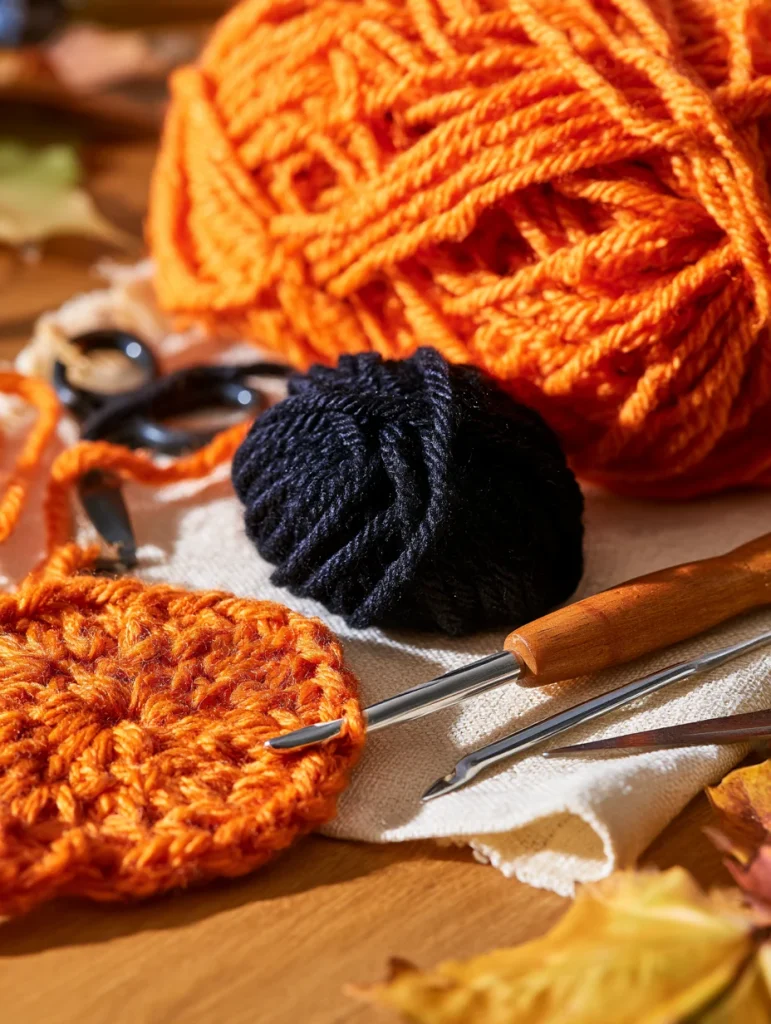
| Orange yarn | Approximately 250–300 yards |
| Black yarn | Small amount for face |
| Crochet hook | 5.5–6 mm |
| Yarn needle | 1 |
| Scissors | 1 pair |
| Stitch marker | 1 |
| Optional lining | Cotton fabric if desired |
For a bag with more structure, cotton or a cotton blend works especially well.
You can also hold two strands of medium-weight yarn together.
Abbreviations
| Abbreviation | Meaning |
|---|---|
| MR | Magic ring |
| ch | Chain |
| sc | Single crochet |
| inc | Increase — 2 sc in one stitch |
| dec | Decrease |
| sl st | Slip stitch |
| BLO | Back loop only |
| st | Stitch |
| sts | Stitches |
Before You Begin
The bag starts with a flat circle.
Once the circle reaches the desired width, you will work one round through the back loops only. This creates a clean corner between the bottom and the sides.
The bag body is then crocheted straight upward without increasing.
The handles are created near the top by chaining across skipped stitches.
Step 1: Crochet the Round Base
Using orange yarn, make a magic ring.
Place a stitch marker in the first stitch of every round.
| Round | Instructions | Stitch Count |
|---|---|---|
| 1 | 6 sc into MR | 6 |
| 2 | Inc in every stitch | 12 |
| 3 | (1 sc, inc) around | 18 |
| 4 | (2 sc, inc) around | 24 |
| 5 | (3 sc, inc) around | 30 |
| 6 | (4 sc, inc) around | 36 |
| 7 | (5 sc, inc) around | 42 |
| 8 | (6 sc, inc) around | 48 |
| 9 | (7 sc, inc) around | 54 |
| 10 | (8 sc, inc) around | 60 |
Your base should now look like a flat orange circle.
If the circle is strongly curling, check your stitch count.
If it is very wavy, you may have accidentally added extra stitches.
Step 2: Turn the Base Into the Bag
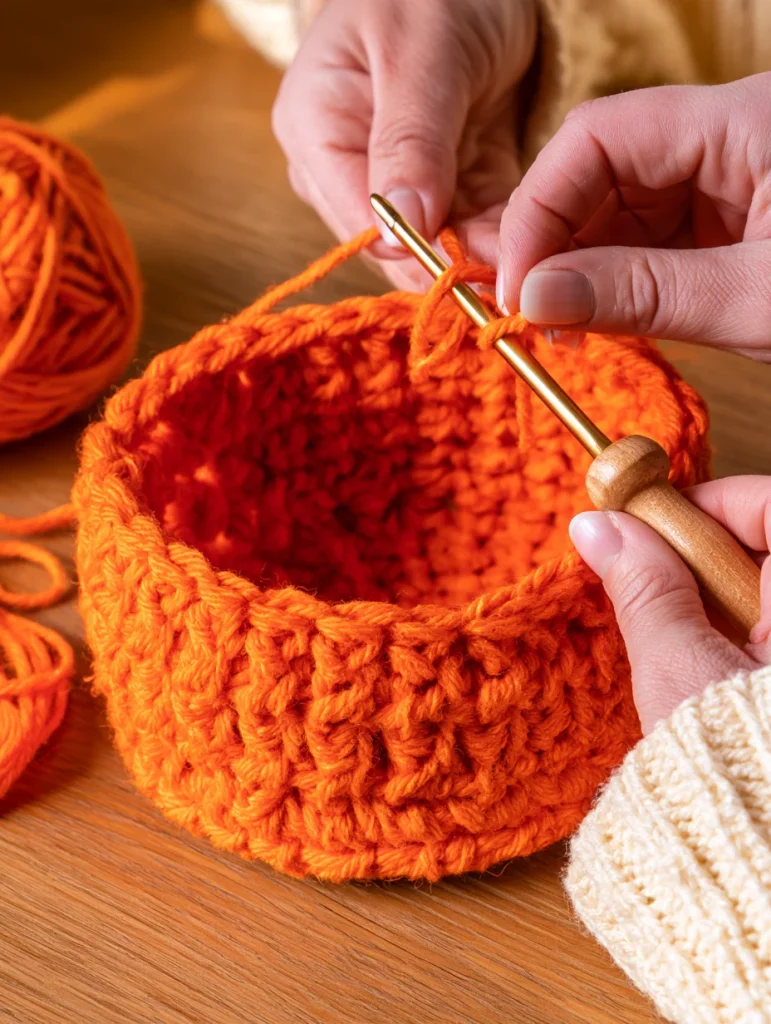
Work the next round through the back loop only.
| Round | Instructions | Stitch Count |
|---|---|---|
| 11 | BLO sc around | 60 |
This creates a visible turning ridge around the bottom edge.
After this round, return to crocheting through both loops normally.
Step 3: Build the Bag Sides
Work:
| Rounds | Instructions | Stitch Count |
|---|---|---|
| 12–29 | Sc around | 60 each round |
Continue until the body measures approximately 8 inches tall from the base.
If you want a taller trick-or-treat bag, add additional rounds.
Keep checking that you still have 60 stitches.
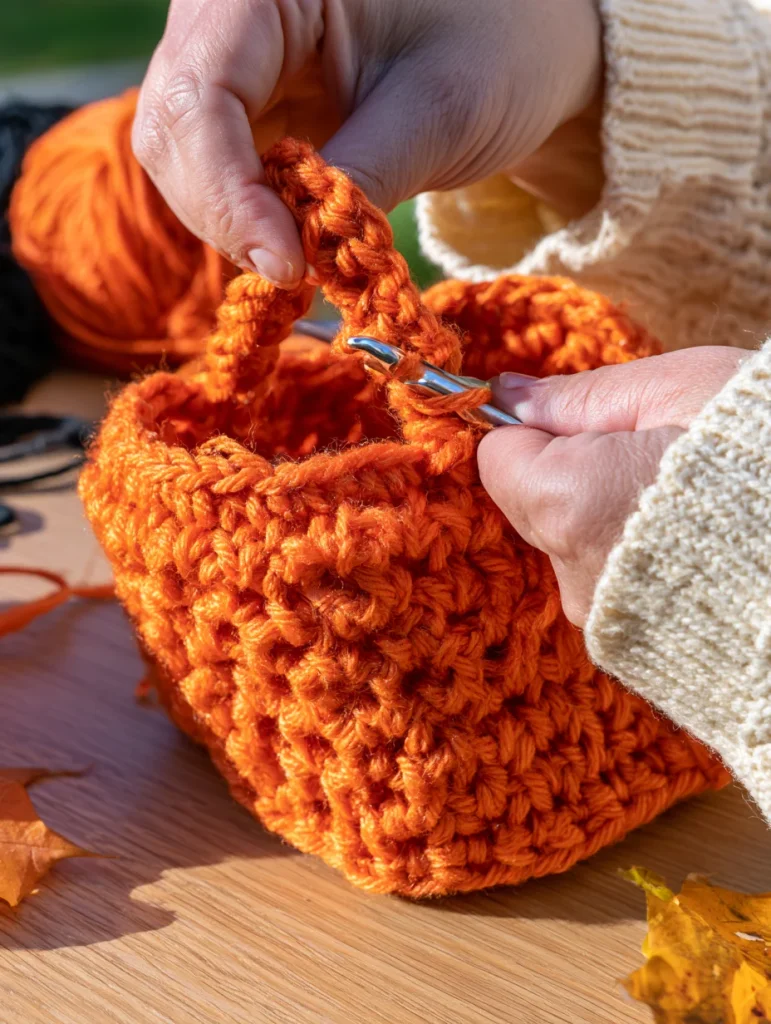
Step 4: Mark the Handle Positions
The bag will have two handles directly opposite each other.
With 60 stitches around the top, divide them like this:
- 8 sc
- 14 stitches for first handle
- 16 sc
- 14 stitches for second handle
- 8 sc
This keeps both handles centered.
Use stitch markers if needed.
Step 5: Crochet the First Handle Round
Work:
8 sc
Then:
Ch 14, skip the next 14 stitches
Continue:
16 sc
Then:
Ch 14, skip the next 14 stitches
Finish with:
8 sc
You now have two chain openings that form the handles.
Step 6: Strengthen the Handles
On the next round:
- Sc in each regular stitch
- Work 1 sc into each handle chain
- Continue around the entire bag
You should still have approximately 60 stitches.
Work 2 additional rounds of single crochet around the top.
This strengthens the handles and makes them more comfortable to hold.
If you want thicker handles, work one or two additional rounds.
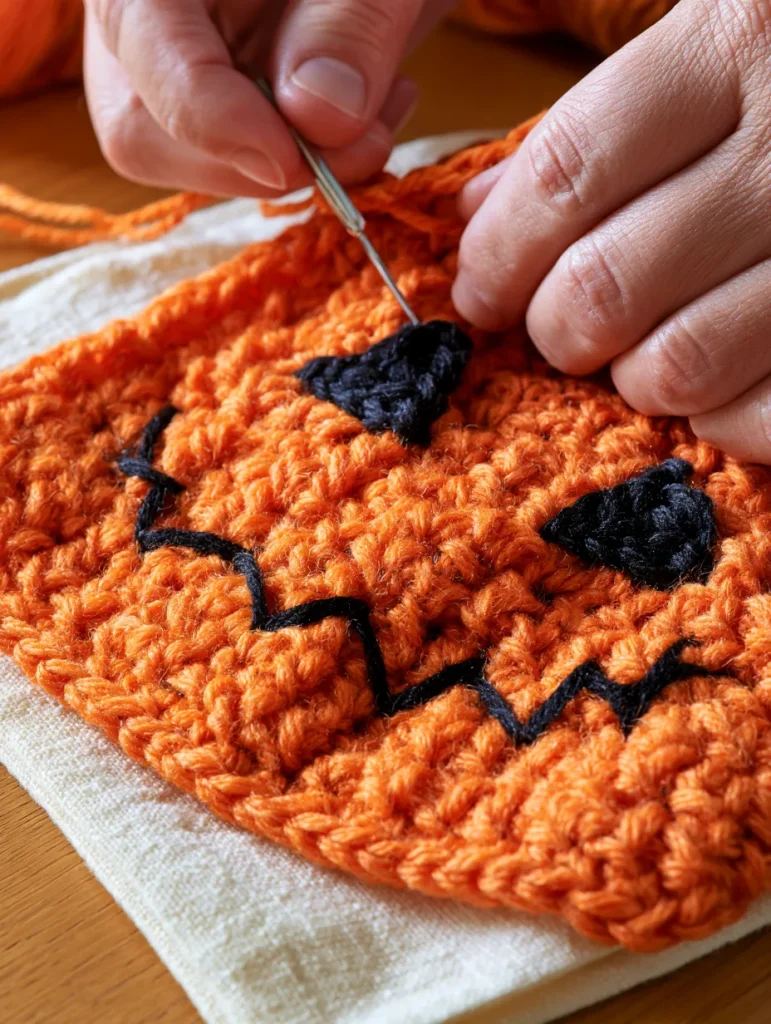
Step 7: Finish the Bag
After the final strengthening round:
Slip stitch into the next stitch.
Fasten off.
Weave in the yarn end securely.
Gently shape the bag with your hands.
At this stage, you can leave it as a simple orange Halloween tote or add the jack-o’-lantern face.
Step 8: Crochet the Jack-o’-Lantern Eyes
Using black yarn, make two identical triangular eyes.
Each Eye
Row 1: Ch 6. Sc into second chain from hook and across. 5 sts.
Row 2: Ch 1, turn. Dec, sc, dec. 3 sts.
Row 3: Ch 1, turn. Sc3tog. 1 st.
Fasten off, leaving a long tail for sewing.
Make the second eye the same way.
Step 9: Position the Eyes
Lay the bag flat.
Position the two black triangles approximately in the upper-middle section of the bag.
Make sure they are evenly spaced.
Pin or hold them temporarily before sewing.
Using the long yarn tails, sew securely around each eye.
Weave the yarn ends into the inside of the bag.
Step 10: Add the Pumpkin Mouth
The easiest beginner option is to embroider the mouth directly onto the bag with black yarn.
Use a yarn needle and create a wide zigzag smile.
Keep the stitches relatively large so the mouth remains visible against the orange background.
You can make the expression:
- Happy
- Silly
- Spooky
- Classic jack-o’-lantern
Avoid making the mouth too complicated.
Simple shapes usually look best.
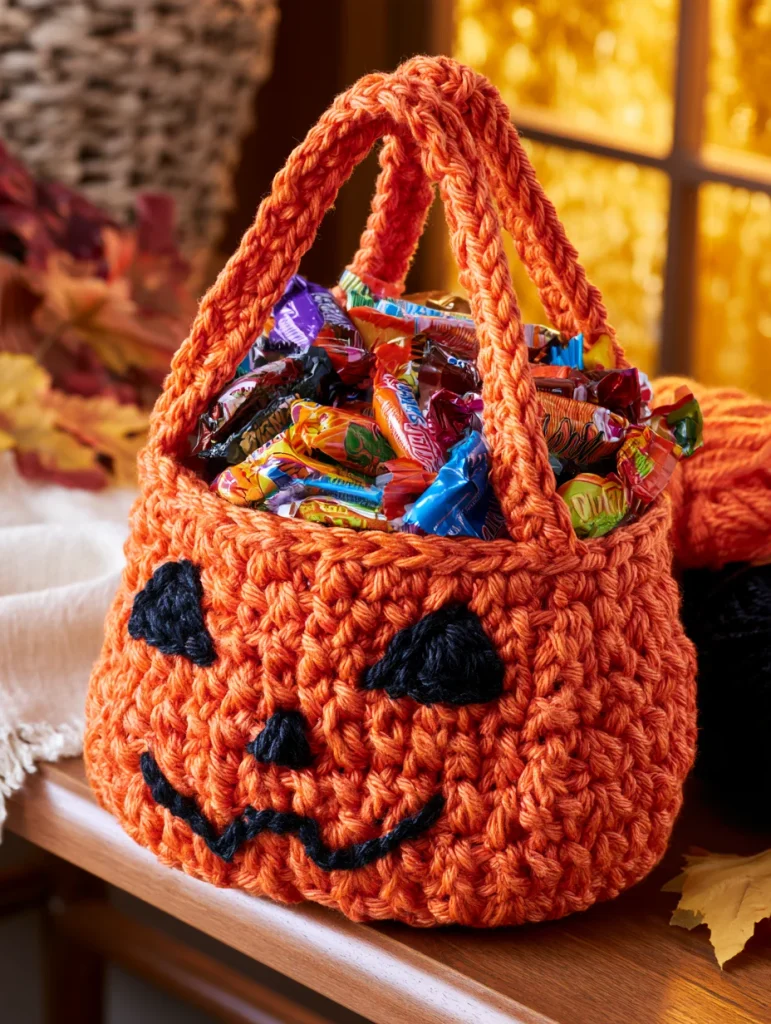
Step 11: Check the Handles
Before using the bag, gently pull on both handles.
Check that:
- The chain openings feel secure
- No stitches are loose
- Yarn ends are fully woven in
- The handles sit evenly
- The bag does not twist badly when lifted
If the handles feel too soft, add another single-crochet round around the top.
Fill the Bag With Halloween Candy
Your bag is now ready for individually wrapped treats.
It can be used for:
- Trick-or-treating
- Halloween parties
- Candy storage
- Seasonal home decor
- Handmade Halloween gifts
- Kids’ Halloween baskets
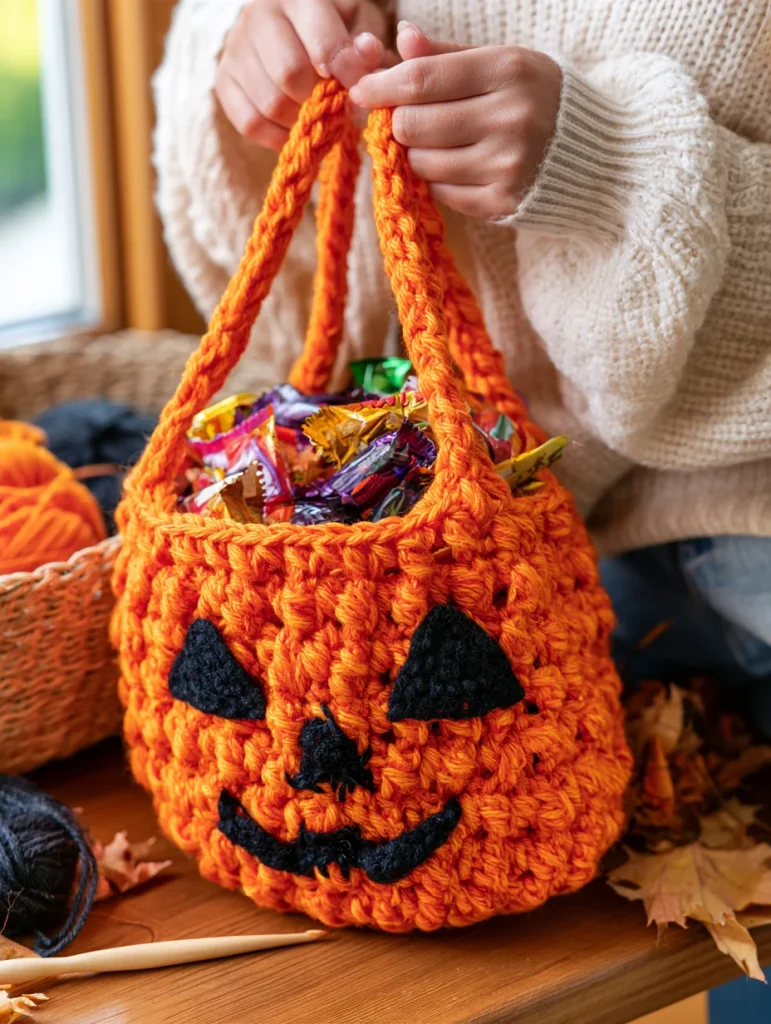
Make a Smaller Trick-or-Treat Bag
For a smaller bag, stop increasing the base earlier.
| Size | Stop Base At |
|---|---|
| Mini | 42 stitches |
| Small | 48 stitches |
| Medium | 54 stitches |
| Original | 60 stitches |
Once your base reaches the size you want, work the BLO turning round and begin building the walls.
You will need to adjust handle placement so both handles remain opposite each other.
Make a Larger Bag
For a larger bag, continue the increase pattern.
After 60 stitches:
Round 11 alternative: (9 sc, inc) around = 66 stitches.
Continue increasing if needed.
A larger bag may require:
- More yarn
- Wider handles
- Additional strengthening rounds
- Firmer yarn
Try Different Halloween Faces
You do not have to make a traditional pumpkin face.
Try:
Ghost Bag
Use cream yarn for the bag and black oval eyes.
Frankenstein-Inspired Bag
Use muted green yarn with black embroidered hair and face details.
Black Cat Bag
Use charcoal yarn and add simple triangular ears near the top.
Monster Bag
Use purple or green yarn with a playful embroidered expression.
The same basic bag construction can become several Halloween designs.
Add Pumpkin Ridges
If you want the orange bag to resemble a pumpkin even more, add subtle vertical surface crochet lines.
Divide the bag into six sections.
Use orange yarn in a slightly darker shade.
Surface slip stitch upward from the base to the top.
Keep the lines loose enough that the bag remains flexible.
Add a Fabric Lining
A lining is optional.
However, a simple cotton lining can:
- Help the bag hold its shape
- Reduce stretching
- Protect crochet stitches
- Keep smaller candy from catching in the fabric
If you add a lining, sew it inside the bag below the handle openings.
Best Yarn for a Trick-or-Treat Bag
A smooth, durable yarn works best.
Good options include:
- Cotton
- Cotton blend
- Firm acrylic
- Two strands of medium-weight yarn held together
Very soft or stretchy yarn may make the bag sag when filled with candy.
Why Is My Bag Floppy?
Possible causes include:
| Problem | Solution |
|---|---|
| Yarn too thin | Hold two strands together |
| Hook too large | Try a slightly smaller hook |
| Loose tension | Crochet more firmly |
| Bag too tall | Reduce body rounds |
| Heavy contents | Add a lining |
Why Is My Base Curling?
If the base starts forming a bowl before the BLO round, you may have:
- Missed an increase
- Crocheted too tightly
- Used a hook that is too small
Check the stitch counts carefully.
The base should progress:
6 → 12 → 18 → 24 → 30 → 36 → 42 → 48 → 54 → 60
Why Are My Handles Uneven?
Uneven handles usually come from incorrect spacing.
Before creating the handle round, mark both handle openings.
Check that they sit directly opposite each other.
Count twice before chaining.
It is easier to move a stitch marker than undo several rounds later.
Can Beginners Make This Bag?
Yes.
You should be comfortable with:
- Magic ring
- Single crochet
- Increasing
- Working in continuous rounds
- Back loop only crochet
- Chain stitches
- Basic sewing
The construction is similar to a large amigurumi container.
Once the round base is complete, most of the body is simply repeated single crochet.
Safety Notes
If the bag will be carried by a young child:
- Sew all appliques securely
- Avoid loose buttons or small detachable decorations
- Check the handles before use
- Do not make the handles excessively long
- Keep yarn bags away from open flames and candles
Use the bag for individually wrapped treats rather than loose food.
A Halloween Project You Can Use Every Year
One of the best things about this project is that it is not just decorative.
The same handmade bag can come out every Halloween.
Use it for trick-or-treating one year.
Fill it with candy on your entryway table the next.
Or make several different Halloween faces and create a complete set.
Once you understand the basic round-base construction, you can change the colors, faces, handles, and size to create your own version.
Start with the orange pumpkin.
Then see what Halloween character comes next.