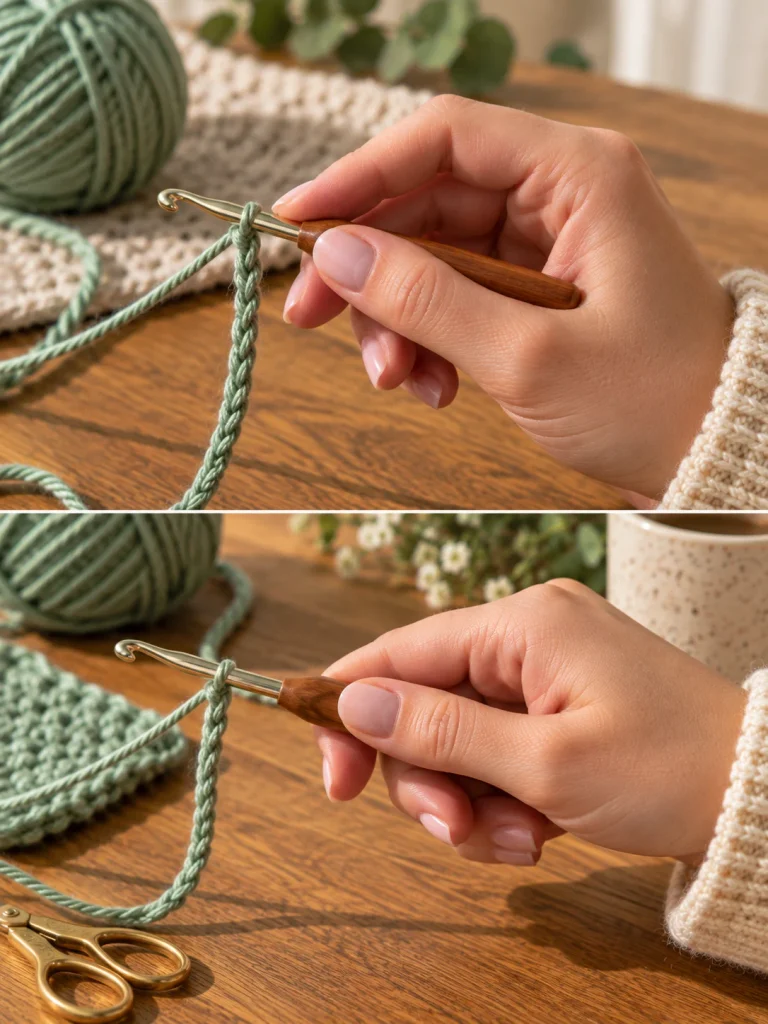
Every crochet project begins somewhere.
For many projects, that beginning is a simple row of chain stitches.
The crochet chain creates the foundation that future stitches are worked into, and learning to make an even, comfortable chain is one of the first skills every beginner should practice.
At first, holding the hook, controlling the yarn, and forming each loop can feel awkward.
That is completely normal.
Your hands are learning a new movement.
This guide takes you through the process slowly so you can make your first slip knot, hold your yarn and hook, and crochet a simple foundation chain.
What You Need
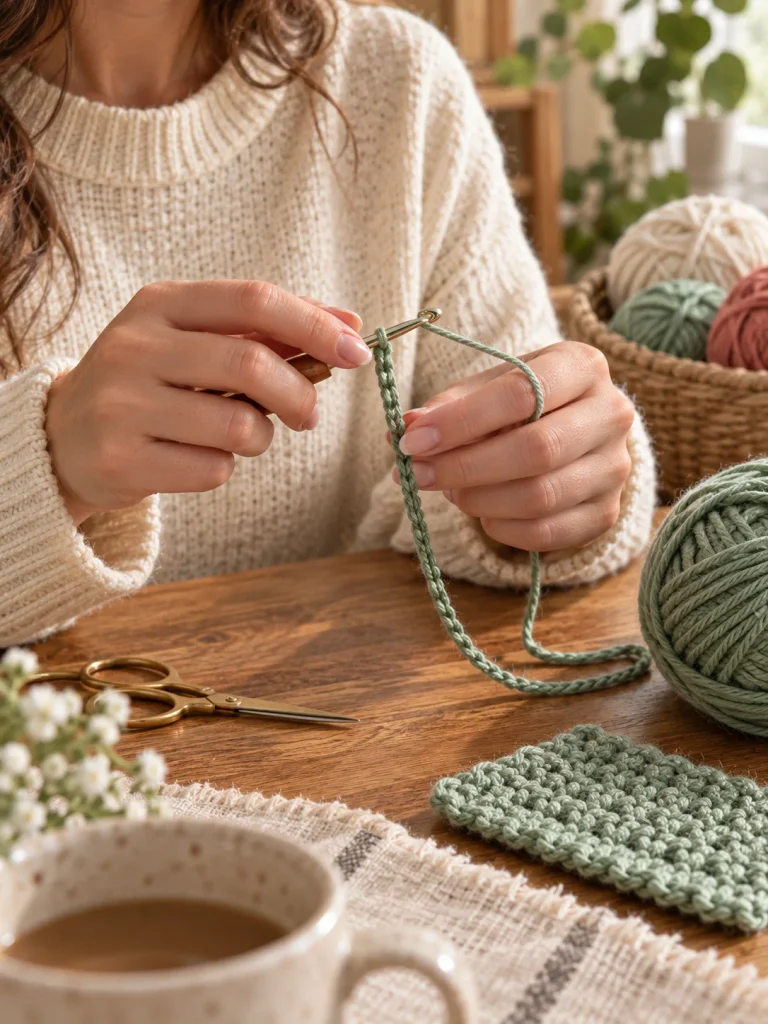
You only need a few simple supplies to practice your first crochet chain.
- Medium-weight yarn
- Crochet hook
- Scissors
For beginners, smooth medium-weight yarn is usually easier to see and control.
Choose a light or medium color such as cream, sage green, beige, dusty rose, or light blue.
Very dark or fuzzy yarn can make the stitches harder to see when you are learning.
Use the crochet hook size recommended on the yarn label as a starting point.
Get Comfortable Before You Begin
Sit somewhere with good lighting and enough space to move your hands comfortably.
Let your shoulders relax.
Crochet does not require a tight grip.
If your hands start hurting or your fingers feel tense, loosen your grip and take a short break.
At first, you may need to reposition your yarn or hook frequently.
That is fine.
Speed comes later.
For now, focus on making each movement feel comfortable.
How to Hold a Crochet Hook
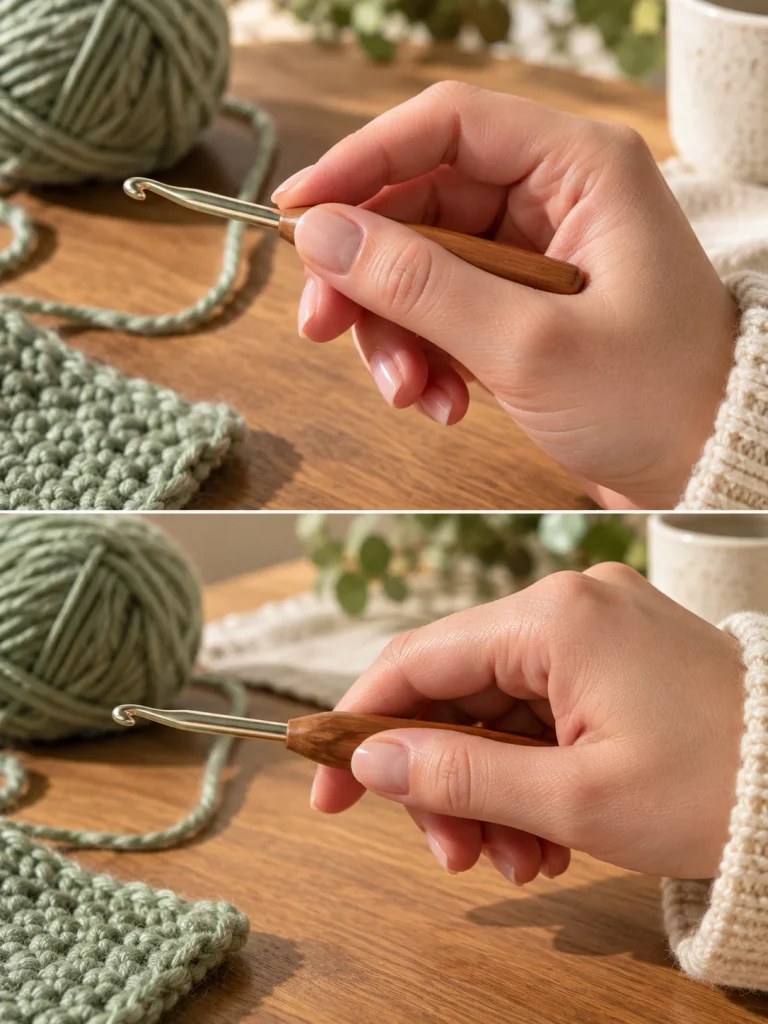
There are two common ways to hold a crochet hook.
Pencil Grip
Hold the hook similarly to how you would hold a pencil.
Your thumb and index finger rest around the flatter grip area while the hook rests against your hand.
Knife Grip
Hold the hook from above, more like you would hold a table knife.
Neither method is better.
Try both and use whichever feels more natural.
The important thing is that you can rotate the hook comfortably without squeezing it too tightly.
How to Hold the Yarn
The yarn needs a small amount of tension so your stitches stay controlled.
There is no single correct way to hold it.
A common method is to guide the yarn over your index finger while the remaining fingers lightly control the strand.
Some crocheters wrap the yarn around another finger before bringing it over the index finger.
Experiment until the yarn moves smoothly through your hand.
You want enough tension to control the loop, but not so much that the yarn becomes difficult to pull through.
Step 1: Make a Slip Knot
Begin by leaving a short yarn tail.
Make a loop with the yarn.
Pull a section of the working yarn through the loop to create a new loop.
Insert your crochet hook into that new loop.
Gently pull the working yarn until the loop fits around the hook.
Do not tighten it too much.
The loop should slide along the hook without falling off.
The slip knot itself is not normally counted as a chain stitch.
Step 2: Yarn Over
Hold the hook in your dominant hand and the working yarn in your other hand.
Bring the working yarn over the hook from back to front.
This movement is called a yarn over.
You will use yarn overs constantly in crochet.
Keep the original loop on the hook while the yarn wraps over it.
Step 3: Pull Through the Loop
Rotate the hook slightly downward so the hook catches the yarn.
Pull the yarn through the loop already on your hook.
You have now made one chain stitch.
One new loop remains on the hook.
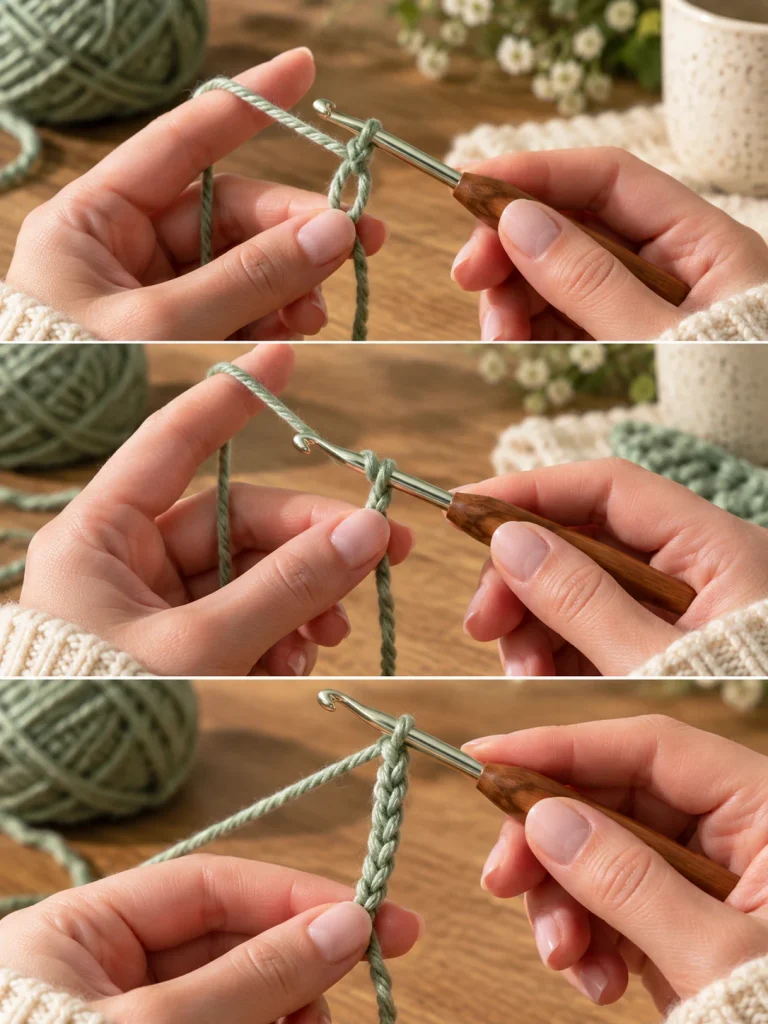
Step 4: Make Another Chain
Yarn over again.
Pull the yarn through the loop on your hook.
Now you have two chain stitches.
Repeat the same movement:
Yarn over.
Pull through.
Yarn over.
Pull through.
The chain will begin growing below your hook.
What Should a Crochet Chain Look Like?
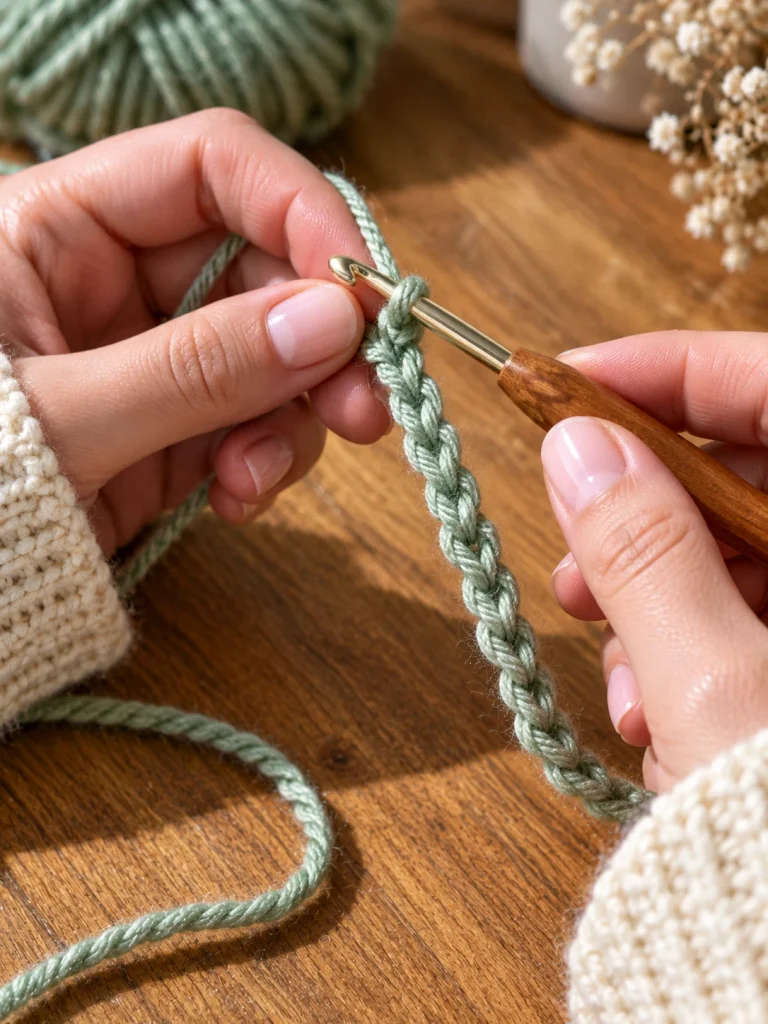
When viewed from the front, a crochet chain looks like a row of small V shapes.
Each V represents one chain stitch.
Turn the chain over and you will notice small bumps along the back.
These are often called back bumps.
Later, a crochet pattern may ask you to work into the front loop, back loop, or back bump of a chain.
For now, simply learn to recognize each individual chain stitch.
How to Count Crochet Chains
Do not count the slip knot.
Begin with the first complete V below the hook.
Each V equals one chain stitch.
The loop currently sitting on your hook is not counted as a completed chain.
For example, if you can see 10 complete V shapes below the hook, you have made 10 chains.
Why Are My Crochet Chains Too Tight?
Tight chains are extremely common for beginners.
You may be:
- Pulling the working yarn too firmly
- Holding the hook too tightly
- Tightening every new loop after making it
Try allowing each loop to rest around the wider shaft of the hook before making the next chain.
Do not deliberately pull each stitch tight.
The chain should remain flexible.
If the chain feels stiff and difficult to work into, loosen your tension slightly.
Why Are My Crochet Chains Too Loose?
Loose chains can happen when there is not enough tension on the yarn.
You may notice large loops or very uneven spaces between stitches.
Try guiding the yarn more consistently with your fingers.
Do not pull hard, but keep enough control that the yarn does not slide freely through your hand.
The goal is comfortable, even tension rather than extremely tight or loose stitches.
Why Are My Chains Uneven?
Your first chains probably will not all look identical.
Some stitches may be large while others are small.
That happens because your yarn tension is still changing from one stitch to another.
Keep practicing the same movement.
After a while, your hands begin controlling the yarn more automatically and the chain becomes more consistent.
A useful exercise is to crochet 20 or 30 chains, unravel them, and repeat.

How Many Chains Should You Practice?
Start with 20 chains.
Count them carefully.
Then make another 20.
You can unravel the yarn and reuse it several times while practicing.
Once you can make a chain without concentrating on every movement, try making 30 or 40 stitches while keeping them reasonably even.
You are not trying to create perfect stitches immediately.
You are teaching your hands the movement.
How Do You Keep the Chain From Twisting?
A foundation chain naturally wants to twist a little.
This is normal.
Let the chain hang loosely as you work rather than trying to hold the whole thing tightly.
When you eventually begin the first row of stitches, gently straighten the chain so the V shapes face the same direction.
For most basic beginner projects, a small amount of twisting while you make the chain is not a problem.
What Comes After the Foundation Chain?
Once you can make a chain, the next step is learning how to work stitches into it.
Common beginner stitches include:
- Single crochet
- Half double crochet
- Double crochet
These stitches turn your foundation chain into rows of crochet fabric.
Different stitches begin in different chains from the hook.
For example, a pattern may tell you to work into the second or third chain from the hook.
Follow the instructions for the specific stitch you are learning.
Does the Loop on the Hook Count as a Chain?
No.
Only completed chain stitches below the hook are counted.
The active loop sitting on your hook allows you to continue crocheting.
This is a very common beginner mistake.
Remember:
Count the V shapes below the hook, not the loop currently on the hook.
Does the Slip Knot Count as a Chain?
Usually, no.
The slip knot creates the starting loop on your crochet hook.
Your first chain is made after you yarn over and pull the yarn through that starting loop.
If a specific pattern tells you something different, follow the pattern instructions.
Should the Slip Knot Be Tight?
The slip knot should be secure, but it should still move comfortably along the shaft of the hook.
If it becomes extremely tight, making your first chain stitch will be difficult.
A good starting loop stays on the hook without squeezing it.
What If the Hook Keeps Falling Out?
This can happen when you are still learning how to coordinate your hands.
Keep the active loop large enough to stay on the hook comfortably.
If the hook slips out, simply insert it back into the active loop.
If the loop has tightened, gently pull on the working yarn or tail until you can adjust it again.
There is no need to restart the whole chain every time the hook slips out.
How Should the Hook Move?
The hook does not need large movements.
As you yarn over, rotate the hook slightly so the hooked tip catches the yarn.
When pulling through the loop, angle the hook downward enough that the yarn stays inside the hook.
Small controlled rotations are usually easier than trying to pull the hook straight through.
As you practice, this movement will begin to feel natural.
Do Left-Handed Crocheters Make Chains Differently?
The basic process is the same but mirrored.
A left-handed crocheter usually holds the hook in the left hand and controls the yarn with the right.
The steps remain:
Make a slip knot.
Yarn over.
Pull through.
Repeat.
Use whichever hand arrangement feels most natural to you.
Common Beginner Mistakes
Pulling Every Stitch Too Tight
Crochet requires controlled tension, not maximum tension.
Holding the Hook Too Firmly
A tight grip can make your hands tired and make it difficult to rotate the hook.
Using Very Dark Yarn
Dark stitches can be difficult to see while learning.
Using Fuzzy Yarn
Fluffy fibers can hide the individual loops.
Trying to Crochet Too Quickly
Speed is not important yet.
Focus on making comfortable, controlled movements.
Forgetting to Count
Counting helps you learn what individual chain stitches look like.
Counting the Loop on the Hook
Remember that the active loop is not a completed chain stitch.
A Simple Practice Exercise
Try this beginner exercise:
Make a slip knot.
Chain 20.
Count the chain.
Look at the V shapes.
Unravel the chain.
Make another chain of 20.
Repeat this three or four times.
Then try making a chain of 30 without stopping after every stitch.
You may notice that the later chains already look more consistent than the first one.
Your Hands Need Time to Learn
Crochet uses movements that may be completely new to your hands.
At first, you may feel like you have too many things to control at once.
The hook moves one way.
The yarn moves another.
Your fingers are trying to maintain tension.
And you are also counting stitches.
With practice, several of those actions become automatic.
That is why repeating a simple chain is valuable even though it may not feel like a finished project.
When Are You Ready to Learn Your First Stitch?
You do not need a perfectly even chain before moving forward.
You are ready when you can:
- Make a slip knot without too much difficulty
- Yarn over and pull through repeatedly
- Recognize individual chain stitches
- Count your chains
- Keep the chain reasonably loose and even
Once those movements feel manageable, try learning single crochet.
That will turn your simple foundation chain into your first piece of crochet fabric.
Your First Chain Is the Beginning
Your first chain may twist.
Some stitches may be bigger than others.
Your grip may change every few seconds.
That is part of learning.
Crochet becomes easier when your hands stop having to think about every movement.
Make a chain.
Unravel it.
Make another.
Each time, the movement of yarn over and pull through becomes a little more familiar.
And once you can comfortably make a foundation chain, you are ready to turn that simple strand of yarn into your first real crochet project.