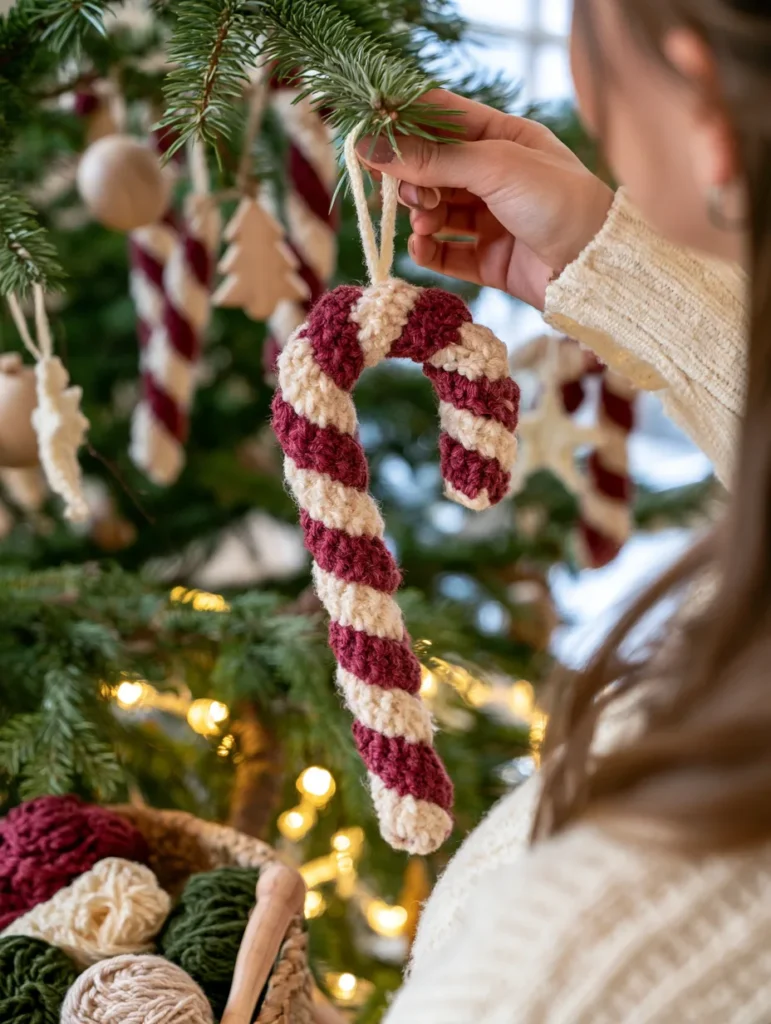
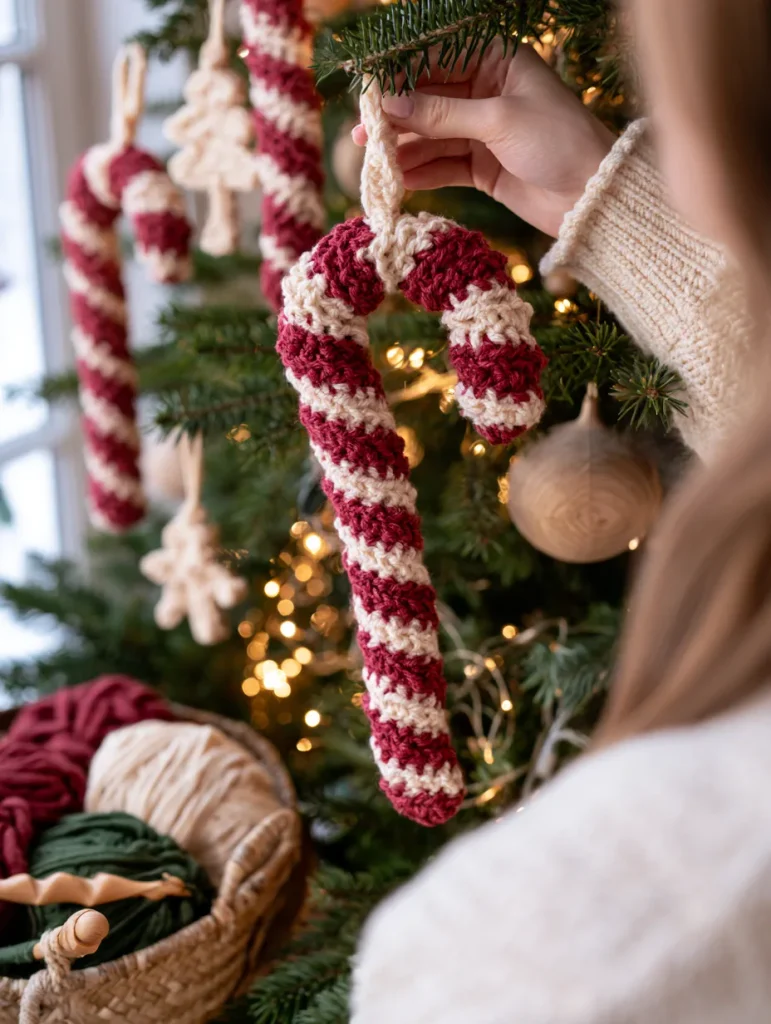
A crochet candy cane is a quick Christmas project that uses very little yarn and works beautifully as a tree ornament, gift topper, or garland decoration.
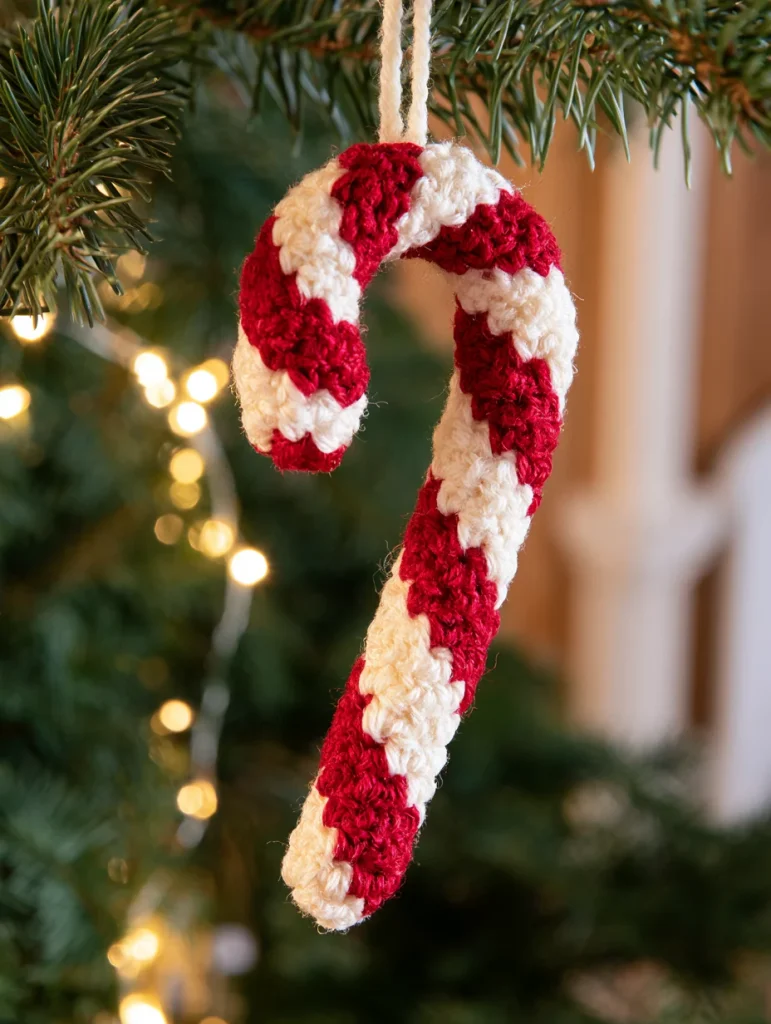
This beginner-friendly pattern creates the classic red-and-cream striped candy cane using two simple crocheted cords that naturally curl when worked with extra stitches.
There is no stuffing, complicated shaping, or sewing together of multiple amigurumi pieces. Once the two colored cords are finished, twist them together, shape the curved top, and secure the finished candy cane with a few hidden stitches.
Candy Cane Pattern at a Glance
| Detail | Information |
|---|---|
| Difficulty | Beginner |
| Terminology | US crochet terms |
| Construction | Two curled crochet cords twisted together |
| Main stitch | Single crochet |
| Suggested yarn | Medium-weight cotton or acrylic |
| Hook | 3.5–4 mm |
| Finished length | Approximately 5–6 inches |
| Main colors | Muted cranberry + warm cream |
| Stuffing | None |
Materials
You will need:
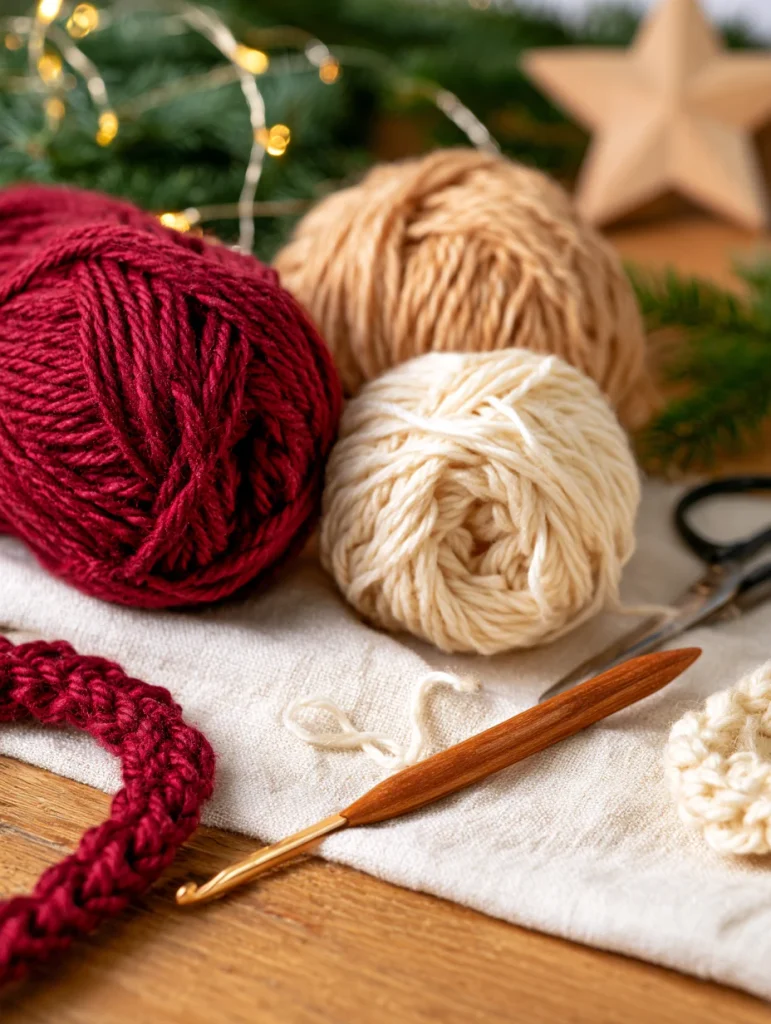
- Small amount of muted-cranberry medium-weight yarn
- Small amount of warm-cream medium-weight yarn
- 3.5–4 mm crochet hook
- Yarn needle
- Scissors
- Small amount of cream yarn or ribbon for hanging
- Optional stitch markers
This project is excellent for leftover yarn because each candy cane uses only a small amount.
Abbreviations
| Abbreviation | Meaning |
|---|---|
| ch | Chain |
| sc | Single crochet |
| sl st | Slip stitch |
| st | Stitch |
| sts | Stitches |
Before You Begin
This candy cane is made from two separate curled strips.
You will make:
- One cranberry-red strip
- One warm-cream strip
Each begins as a simple chain.
By working multiple single crochets into every chain stitch, the strip naturally curls.
After both strips are finished, twist them together to create the striped candy cane effect.
Step 1: Crochet the Cranberry Strip
Using muted-cranberry yarn:
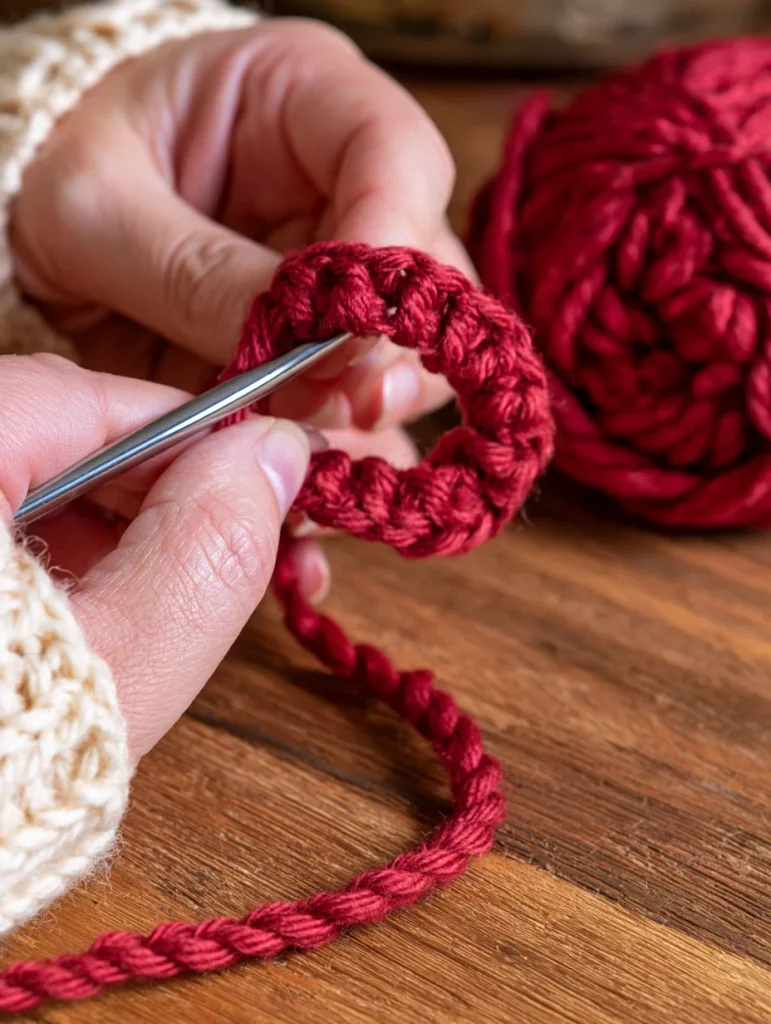
Ch 28.
Starting in the second chain from the hook:
Work 3 sc into each chain across.
Because several stitches are worked into each chain, the strip should begin curling naturally as you crochet.
Continue until you reach the end.
Fasten off, leaving a yarn tail approximately 8 inches long.
Do not try to straighten the curl.
The natural spiral will help create the candy cane.
Step 2: Crochet the Cream Strip
Using warm-cream yarn:
Ch 28.
Starting in the second chain from the hook:
Work 3 sc into each chain across.
Continue to the end.
Fasten off, again leaving a long tail.
You should now have two approximately matching curly strips.
Lay them beside each other and compare the length.
Small differences are fine, but they should be close enough to twist evenly.
Step 3: Align the Two Strips
Place the cranberry and cream strips side by side.
Line up:
- Top ends
- Bottom ends
- Overall curl direction
If one strip is more tightly curled, gently stretch and shape it with your fingers.
Do not pull hard.
The goal is to make both strips approximately the same length before twisting them together.
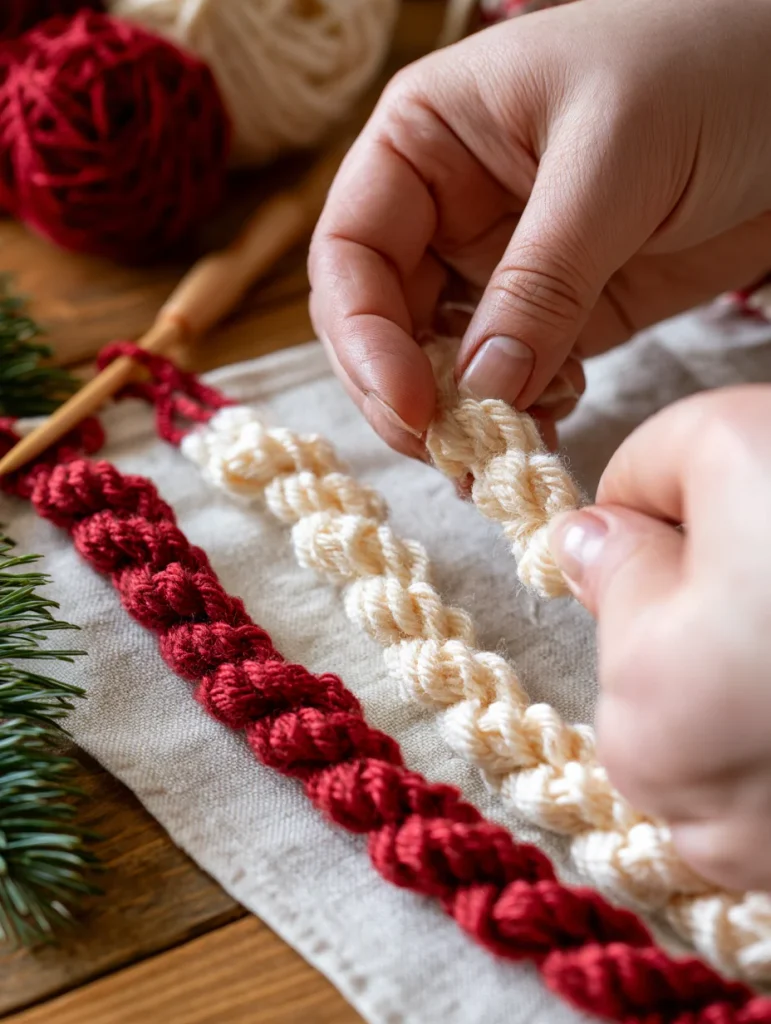
Step 4: Twist the Colors Together
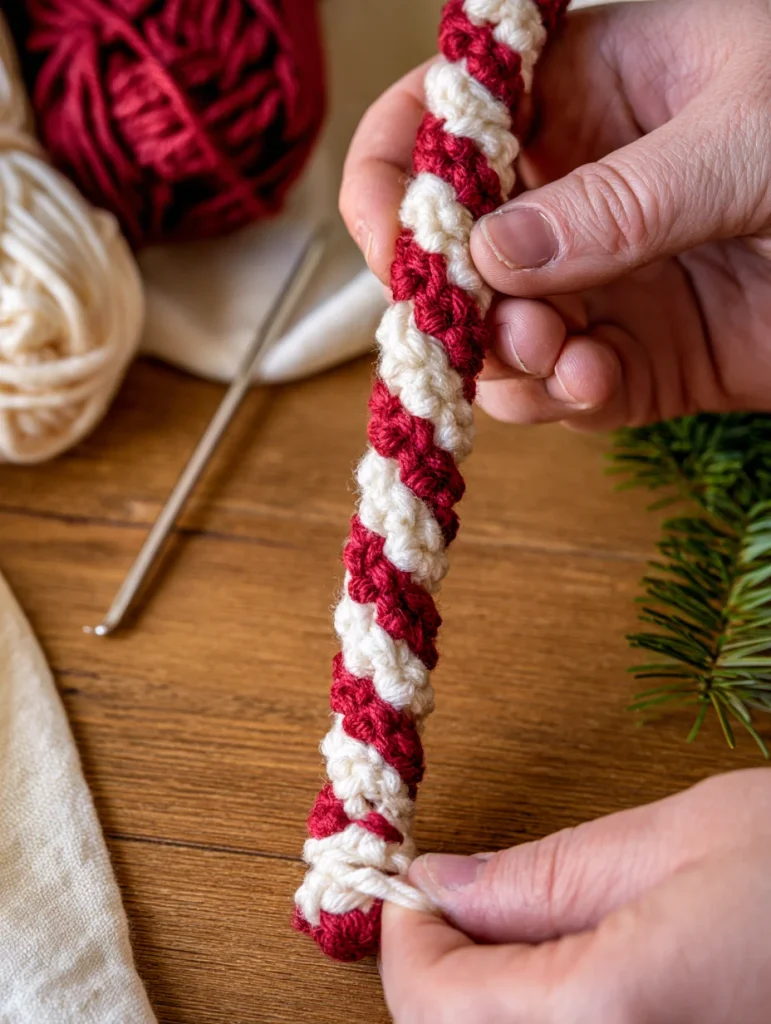
Hold both strips together at one end.
Begin twisting the cream and cranberry spirals around each other.
Work slowly.
Try to keep the stripes approximately even.
The finished piece should alternate:
Cranberry → Cream → Cranberry → Cream
all the way down.
Do not twist too tightly.
A gentle twist gives the candy cane more volume and keeps the crochet texture visible.
Step 5: Secure the Bottom
Thread one of the yarn tails onto a yarn needle.
Sew through both colored strips several times at the bottom.
Make the stitches small and hidden.
Secure firmly.
Weave in the remaining tails inside the crochet structure.
The two strips should now stay together at the bottom.
Step 6: Secure the Middle
The twisted strips may separate slightly if they are only attached at the ends.
Using a matching yarn color, add two or three tiny hidden securing stitches along the length.
Place one around:
- Lower third
- Center
- Upper third
Do not sew through the entire ornament with large visible stitches.
A few small anchoring stitches are enough.
Step 7: Shape the Candy Cane Hook
Hold the upper section.
Gently bend approximately the top third into a curved hook.
Shape it slowly using your fingers.
The curve should resemble a traditional candy cane.
Avoid making a sharp corner.
A soft rounded hook looks more natural.
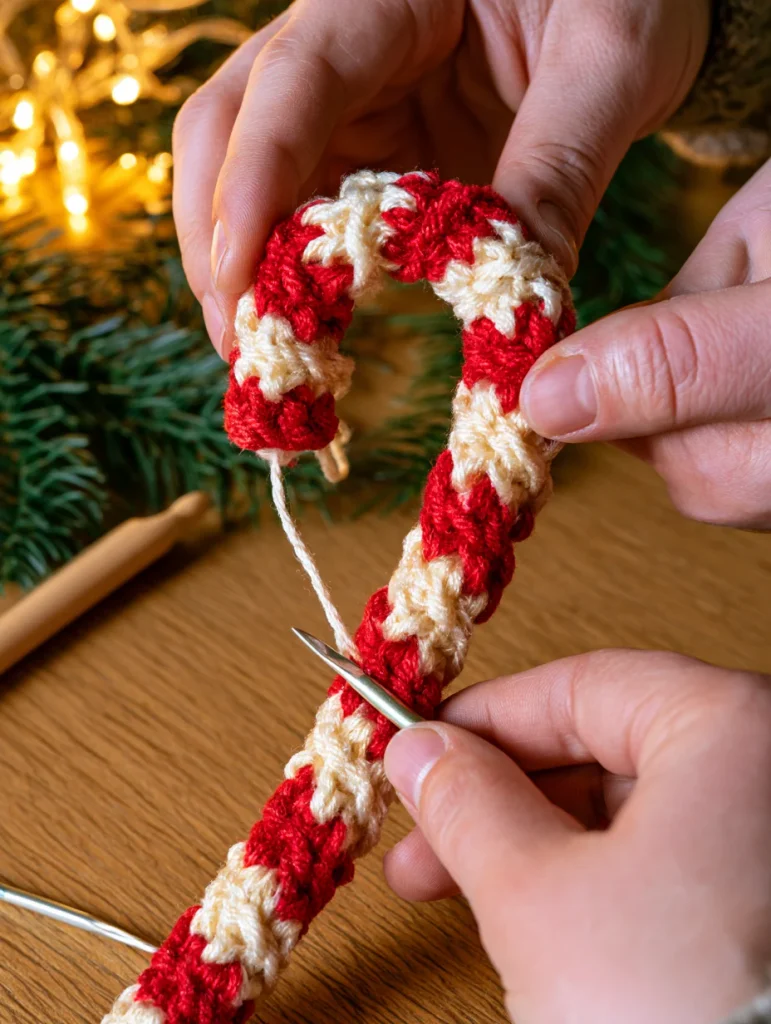
Step 8: Secure the Curve
The crocheted cord may naturally try to straighten.
Use a short piece of matching yarn.
Thread it onto your yarn needle.
Add one or two hidden stitches where the curved section touches the main body.
This helps hold the candy cane shape permanently.
Do not pull too tightly or flatten the crochet.
Step 9: Add the Hanging Loop
Using warm-cream yarn:
Attach securely near the top curve.
Ch 18–22.
Slip stitch back into the same attachment point.
Fasten off.
Weave the yarn ends securely.
You can also use:
- Natural twine
- Thin ribbon
- Matching yarn
Keep the loop lightweight so it does not pull the ornament out of shape.
Step 10: Final Shaping
Lay the candy cane flat.
Check:
- Stripe spacing
- Hook shape
- Overall length
- Hanging loop
- Loose yarn tails
Gently adjust the crochet using your fingers.
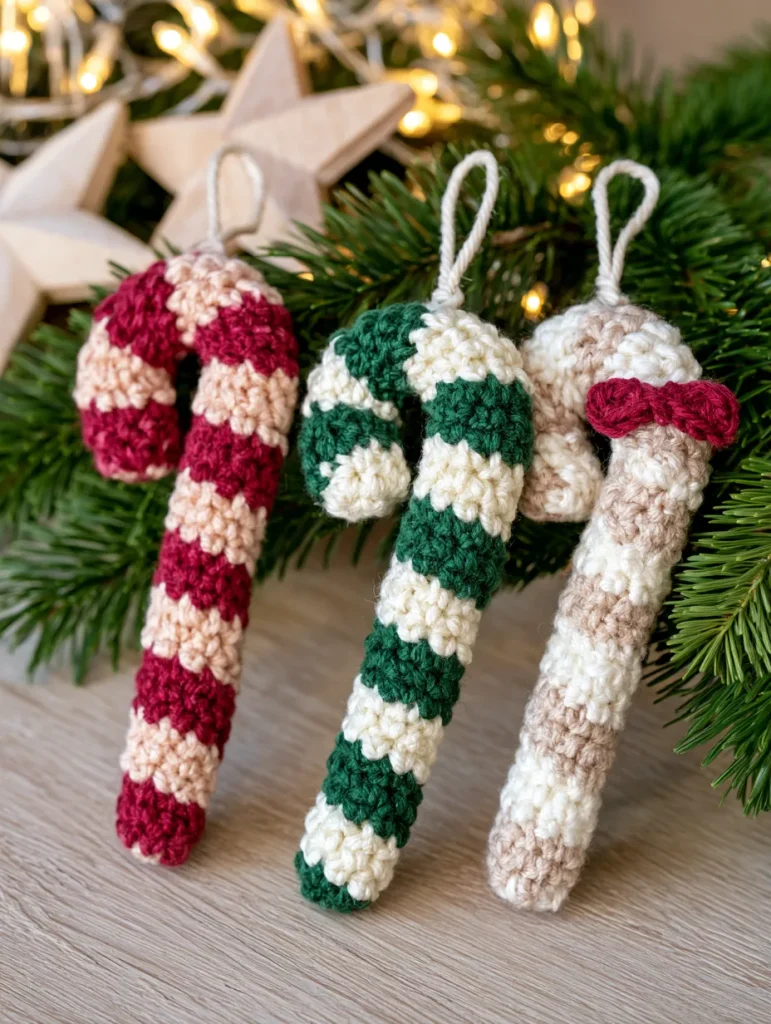
Your candy cane ornament is finished.
Make a Smaller Candy Cane
For a miniature ornament:
Ch 20–22 instead of 28.
Work 3 sc into each chain as before.
Use a smaller hook if desired.
Mini candy canes are especially good for:
- Small Christmas trees
- Gift toppers
- Garland
- Table settings
Make a Larger Candy Cane
For a larger decoration:
Ch 35–40.
Use the same construction.
Larger candy canes may need more hidden securing stitches to hold their shape.
If the crochet becomes too floppy, try:
- Firmer cotton yarn
- Slightly smaller hook
- Tighter but comfortable tension
Different Christmas Color Combinations
Red and cream are traditional, but you can create many variations.
| First Color | Second Color |
|---|---|
| Cranberry | Warm cream |
| Forest green | Cream |
| Sage | Oatmeal |
| Cranberry | Soft pink |
| Forest green | Warm gold |
| Terracotta | Cream |
For a Scandinavian-style Christmas tree, cream and forest green can look especially beautiful.
Make a Solid-Color Candy Cane
You do not have to use two colors.
Make both strips in:
- Cream
- Forest green
- Cranberry
- Oatmeal
Twisting two strips of the same color creates a textured rope-like candy cane.
This works well in neutral Christmas decor.
Add a Crochet Bow
Make a small rectangle using cranberry or forest-green yarn.
Pinch the center.
Wrap yarn around the middle several times.
Secure at the back.
Sew the bow near the top curve of the candy cane.
Keep it small so it does not hide the striped design.
Turn Candy Canes Into a Garland
Make several candy canes.
Attach them to a long crochet chain.
For example:
Candy cane → 15 chains → candy cane → 15 chains
Continue until the garland reaches your preferred length.
Alternate:
- Red + cream
- Green + cream
- Oatmeal + cranberry
Hang the garland across:
- Mantel
- Shelf
- Window
- Doorway
- Christmas tree
Use Them as Gift Toppers
A crochet candy cane works beautifully instead of a disposable bow.
Wrap your gift with:
- Kraft paper
- Cream paper
- Linen ribbon
- Natural twine
Tie the candy cane onto the package.
After the gift is opened, the recipient can reuse it as an ornament.
Add Candy Canes to Christmas Stockings
Attach a crochet candy cane to the outside of a handmade Christmas stocking.
Use a few removable yarn stitches or tie it through the hanging loop.
Coordinate the colors.
For example:
Cranberry stocking + cream/red candy cane
or:
Forest-green stocking + green/cream candy cane
Why Is My Crochet Strip Not Curling?
The strip curls because multiple stitches are worked into each foundation chain.
Make sure you are working 3 single crochets into every chain.
If you work only one stitch per chain, the strip will remain mostly straight.
If your yarn is very stiff, gently shape the curl with your fingers.
Why Is My Candy Cane Too Tight?
You may be twisting the two strips together too firmly.
Undo part of the twist and rewrap more gently.
You should still be able to see:
- Individual crochet stitches
- Red stripe
- Cream stripe
The ornament should feel soft, not compressed.
Why Are the Stripes Uneven?
This usually happens when:
- The two strips have different lengths
- One strip is more tightly curled
- The twist changes direction
- One color is wrapped much tighter
Before twisting, align both pieces.
Work slowly from one end to the other.
Adjust the spacing as you go.
Why Won’t the Hook Stay Curved?
Add one or two hidden stitches between the curved top and the straight body.
Use matching yarn.
Another option is to lightly block the finished ornament into shape if the yarn fiber allows it.
Always check the yarn label before blocking.
Can Beginners Make This Candy Cane?
Yes.
You only need to know:
- Chain stitch
- Single crochet
- Slip stitch
- Basic sewing
There are no increases, decreases, stuffing, or complicated amigurumi pieces.
That makes this one of the easiest Christmas crochet projects for beginners.
Make a Full Ornament Set
Pair the candy cane with:
- Crochet Christmas tree
- Star
- Snowman
- Stocking
- Gingerbread man
- Wreath
Use the same cranberry, cream, forest-green, and oatmeal palette throughout.
The different shapes will still look like one coordinated ornament collection.
Safety Notes
If the ornament will be around babies, young children, or pets:
- Avoid beads
- Avoid bells
- Avoid detachable decorations
- Secure all yarn ends carefully
- Attach bows firmly
Keep crochet ornaments away from candles, fireplaces, and other open flames.
A Quick Christmas Project From Yarn Scraps
This candy cane starts with two simple chains.
Add extra single crochet stitches and those chains naturally begin to curl.
Twist the red and cream pieces together.
Shape the top into a hook.
Add a hanging loop.
That is all it takes to turn a few scraps of yarn into a handmade Christmas ornament.
Make one for your tree, then make another for a gift.
Before long, a basket of leftover Christmas yarn can become an entire collection of crochet candy canes.